Why Base Preparation Matters for Your Tuff Stuff 200-Gallon Stock Tank
Installing a Tuff Stuff 200-Gallon Stock Tank correctly starts with choosing between a gravel base and a concrete pad. The wrong foundation can lead to uneven weight distribution, cracking, or premature wear, especially given the tank’s 1,600-pound capacity when full. Livestock owners often underestimate how critical the base is for long-term durability and water quality.
A solid base prevents shifting during freeze-thaw cycles and reduces stress on the tank’s seams. Whether you prioritize cost-efficiency or permanence, understanding the trade-offs between gravel and concrete will save you time and money. This guide breaks down the installation differences, costs, and best practices for the Tuff Stuff 200-Gallon model.
What Are the Key Differences Between a Gravel Base and a Concrete Pad for This Tank?
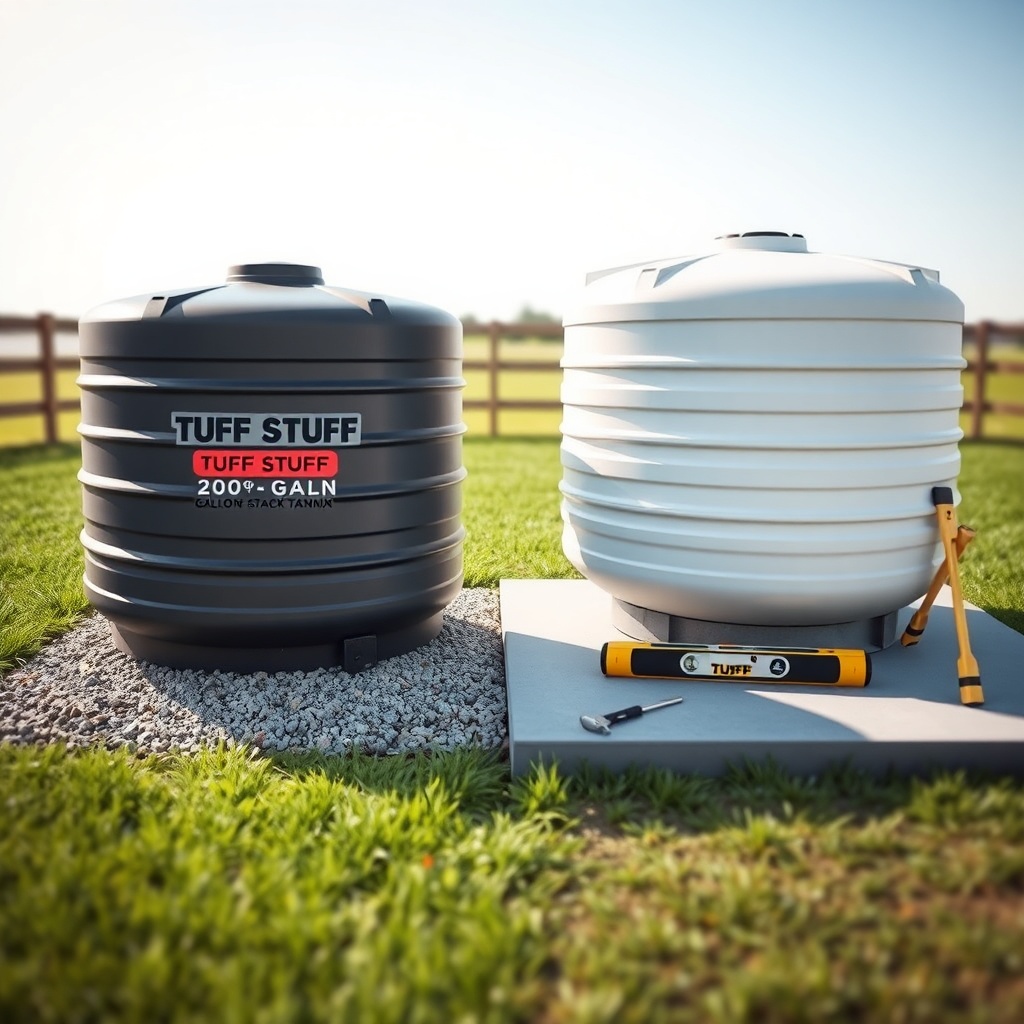
The choice between gravel and concrete affects everything from drainage to maintenance costs. Below is a direct comparison of the two options for a Tuff Stuff 200-Gallon Stock Tank installation.
| Factor | Gravel Base | Concrete Pad |
|---|---|---|
| Material Cost (4 ft x 4 ft area) | £30–£60 (crushed stone, 3–4 inch depth) | £80–£150 (bagged concrete or ready-mix) |
| Labour Time | 1–2 hours (spreading and levelling) | 3–6 hours (mixing, pouring, curing) |
| Drainage | Excellent (water passes through) | Poor (needs slope or drainage channel) |
| Stability Against Frost Heave | Moderate (depends on depth and compaction) | High (if reinforced with rebar or mesh) |
| Portability | Easy (can be repurposed or moved) | Permanent (requires demolition to change) |
| Durability | 6–10 years (needs topping up) | 15–20 years (with proper curing) |
| Risk of Tank Damage | Low (flexible base absorbs movement) | Medium (rigid pad can cause stress points) |
For most livestock setups, gravel offers a balanced solution. However, regions with deep freeze or heavy clay soil often benefit from concrete’s permanence. For winter scenarios, pairing a concrete pad with a Tuff Stuff 200-Gallon Stock Tank Winterizing: Heater Installation Guide ensures minimal ice damage.
How Do You Prepare the Site for a Gravel Base Installation?
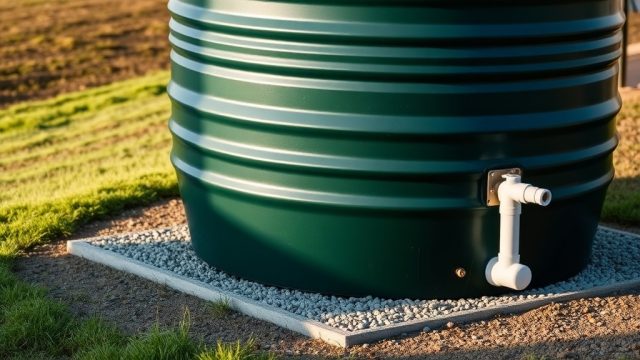
Site preparation for gravel is straightforward but requires attention to levelness. Start by marking a 5 ft x 5 ft area, then remove topsoil to a depth of 4–6 inches. Tamp the exposed soil with a hand tamper or plate compactor until firm. Lay landscape fabric to prevent weed growth, then add 3–4 inches of crushed stone (¾-inch gravel works best).
Spread the gravel evenly and use a long level to check from multiple angles. The base should slope slightly (1–2 degrees) away from the tank’s center to encourage runoff. Once levelled, set the Tuff Stuff 200-Gallon tank in place and fill with water gradually to settle the gravel. Re-check level after 24 hours.
One advantage of gravel is how it complements solar setups. Because the base stays relatively dry, electrical connections for a Tuff Stuff 200-Gallon Stock Tank Solar Heater Installation: Eco-Friendly Winterizing are easier to route above ground.
- Material needed: ¼–¾-inch crushed limestone or granite, 250–350 kg for a 4 ft diameter base.
- Edge restraint (optional): Steel edging strips keep gravel from spreading.
- Tools: Shovel, hand tamper, 4-ft level, measuring tape.
- Cost example: 300 kg gravel at £50 per tonne delivered = £15–£20.
What Are the Steps for Pouring a Concrete Pad for This Stock Tank?
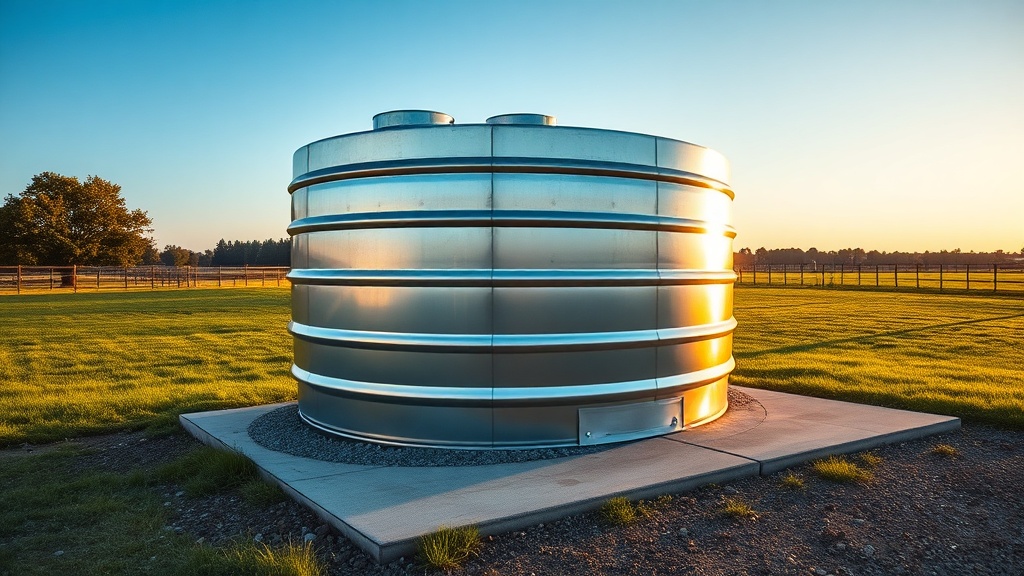
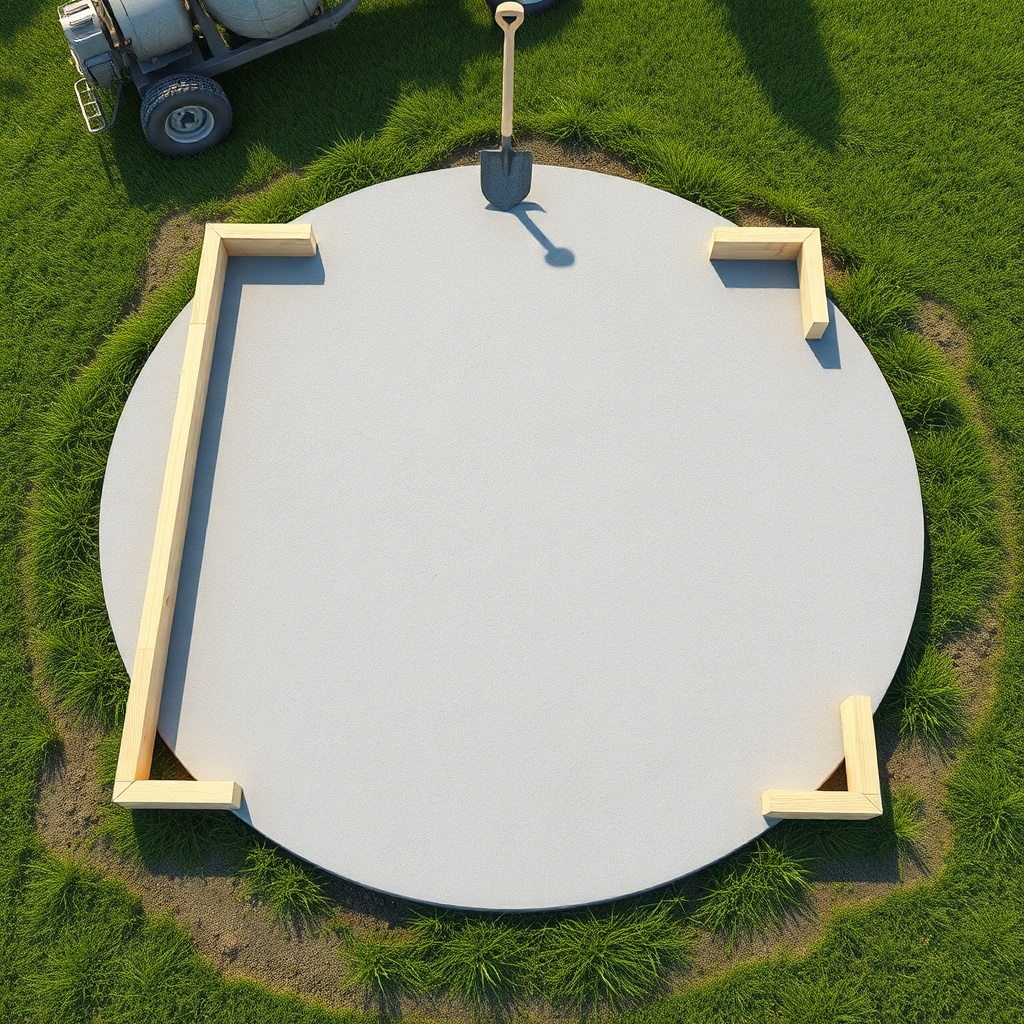
Concrete pads require more planning but offer a rock-solid foundation. First, excavate to a depth of 6–8 inches to allow for a 4-inch concrete slab over a 2–4 inch gravel sub-base. Compact the sub-base thoroughly, then form a wooden frame using 2x4s, ensuring the pad is at least 48 x 48 inches – slightly larger than the tank’s footprint of 46 inches in diameter.
Mix concrete according to manufacturer instructions (one 80 lb bag yields about 0.6 cubic feet, so you’ll need 12–15 bags for a 4×4 ft pad). Pour in sections, screed flat, and use a float to smooth the surface. Insert a piece of rebar or wire mesh halfway through the pour to prevent cracking.
Curing is crucial: keep the pad damp and covered with plastic for at least 7 days. The finished pad should slope 1–2 degrees for drainage. After curing, place the Tuff Stuff 200-Gallon tank and fill it slowly. For added frost protection, consider a Tuff Stuff 200-Gallon Stock Tank Freeze Protection: Solar vs. Electric Heaters to integrate with your concrete base.
Cost breakdown:
- Concrete mix: 15 bags x £8 = £120
- Gravel sub-base: ½ tonne x £15 = £7.50
- 2×4 lumber for forms: £10
- Total materials: ~£137.50 (excluding tools)
Labour time averages 4–6 hours for mixing and pouring, plus 6–7 days curing time before tank placement.
Which Base Option Minimizes Freeze-Thaw Damage in Winter?
Freeze-thaw cycles are the primary enemy of stock tank longevity. In gravel bases, water drains freely, reducing the risk of ice lenses forming beneath the tank. However, if gravel is not compacted deeply enough (at least 6 inches), frost heave can still lift the tank unevenly.
Concrete pads, when poured on a compacted gravel sub-base and reinforced with rebar, resist frost heave better than gravel alone. The key is a 4-inch thick slab with a 2-inch gravel base beneath – this combination insulates the soil and stops water from pooling under the tank. For extreme climates, adding a closed-cell foam insulation board under the concrete further reduces heat loss.
Whichever base you choose, install a tank heater that matches your climate. The How to Choose the Right Stock Tank Heater for Your Tuff Stuff 200-Gallon guide covers wattage and thermostat needs. A well-heated tank on a proper base avoids the need for How to Repair Cracks in Your Tuff Stuff 200-Gallon Stock Tank later.
What Owners Say About Their Tuff Stuff 200-Gallon Tank Installation
Farmers and homesteaders who own the Tuff Stuff 200-Gallon model emphasize that base preparation determines satisfaction. One owner in Shropshire reported, “I used a gravel base for my first tank, but after three years, the gravel shifted during heavy rains. I switched to a concrete pad with a slight slope, and my tank has been perfectly level for five years now.”
Another owner in Yorkshire noted, “The tank itself is fantastic – thick walls and easy to clean – but I wish I’d taken more time on the base. I used a cheap gravel mix from a builder’s merchant, and it compacted unevenly. I had to re-level the tank after the first winter.” Common advice includes using premium angular gravel rather than smooth pebbles, and always checking for level after the first fill.
Several owners also mention pairing the base with a Tuff Stuff 200-Gallon Stock Tank Size Comparison: How It Measures Up to Smaller Models if they need to size up from a 100-gallon unit. The consensus: “The 200-gallon is heavy enough that any base mistake is magnified – do it right the first time.”
Frequently Asked Questions
Q: Can I place the Tuff Stuff 200-Gallon Stock Tank directly on grass or dirt?
A: It is not recommended. Without a base, the tank will sink unevenly, especially when filled, causing stress on the walls and seams. This can lead to cracking within 1–2 years.
Q: How thick should a concrete pad be for this 200-gallon tank?
A: A minimum of 4 inches thick (10 cm) is recommended, with a 2-inch gravel sub-base. For heavy livestock or clay soils, increase to 5–6 inches with rebar reinforcement.
Q: Does a gravel base require maintenance over time?
A: Yes. Gravel can shift due to animal traffic, rain, or frost. Plan to add 1–2 inches of new gravel every 1–2 years and re-level as needed.
Q: Can I install a solar heater on a concrete pad?
A: Yes. A concrete pad provides a stable, flat surface for solar heater mounts. Ensure the pad extends at least 12 inches beyond the tank’s edge for panel placement. See Tuff Stuff 200-Gallon Stock Tank Solar Heater Installation: Eco-Friendly Winterizing.
Q: What is the biggest mistake owners make with installation bases?
A: Not checking for levelness before filling. Even a 1-degree tilt can lead to uneven water pressure, accelerating wear on the tank’s sidewalls and potentially causing leaks.
Q: How long does each base type last before needing replacement?
A: Gravel bases typically require topping up every 2–3 years and full replacement every 6–10 years. Concrete pads, if properly poured and cured, can last 20+ years without issues.