Why Install a Solar-Powered Aerator on a Rubbermaid 100-Gallon Stock Tank?
Maintaining healthy oxygen levels in a Rubbermaid 100-Gallon Stock Tank is essential for livestock hydration and water quality, especially during warmer months when algae blooms and stagnation threaten the supply. A solar-powered aerator offers a sustainable, off-grid solution to boost dissolved oxygen naturally without increasing your electricity bill. This guide walks through the complete installation process, from selecting the right solar aerator to positioning the diffuser for maximum efficiency, helping farm owners achieve clearer water and healthier animals.
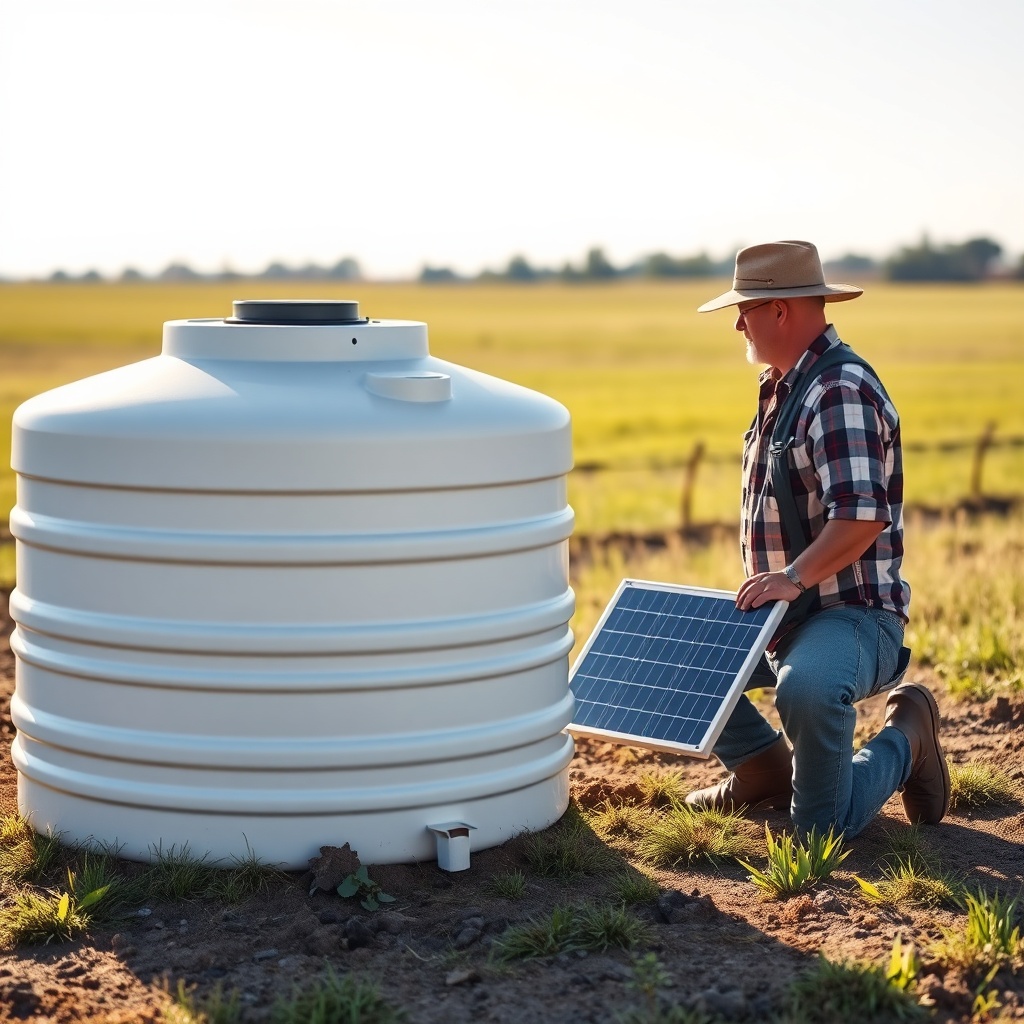
What Solar Aerator System Works Best for a 100-Gallon Tank?
For a tank with a diameter of approximately 54 inches and a height of 22 inches, a compact 5-watt to 10-watt solar aerator kit is sufficient. Look for a system that includes a monocrystalline solar panel (minimum 10 watts for cloudy-day backup), a 12-volt DC air pump rated for at least 2.5 liters per minute, and a weighted air stone diffuser. Prices for these kits range from £40 to £90 in the UK or $50 to $110 in the US. Ensure the pump is submersible or weatherproof; many models are designed to sit inside the tank or mount on the rim.
| Specification | Recommended Value | Notes |
|---|---|---|
| Solar Panel Wattage | 10W – 15W | Monocrystalline for higher efficiency |
| Air Pump Output | 2.5 – 4 L/min | 12V DC, brushless motor preferred |
| Diffuser Type | Weighted air stone or membrane | Keeps diffuser at tank bottom |
| Battery Backup | Optional 7Ah – 12Ah sealed lead-acid | Ensures nighttime operation |
| Tube Length | 20 ft – 30 ft | Silicone tubing resists UV and kinking |
| Mounting Bracket | Included or universal panel mount | Adjustable tilt for seasonal sun angles |
The size and capacity guide confirms that the 100-gallon tank’s surface area allows a single diffuser to circulate effectively. Upgrading to a 15W panel can reduce runtime to four hours of direct sunlight for a full day’s aeration.
How Do You Position the Solar Panel for Optimal Sun Exposure?
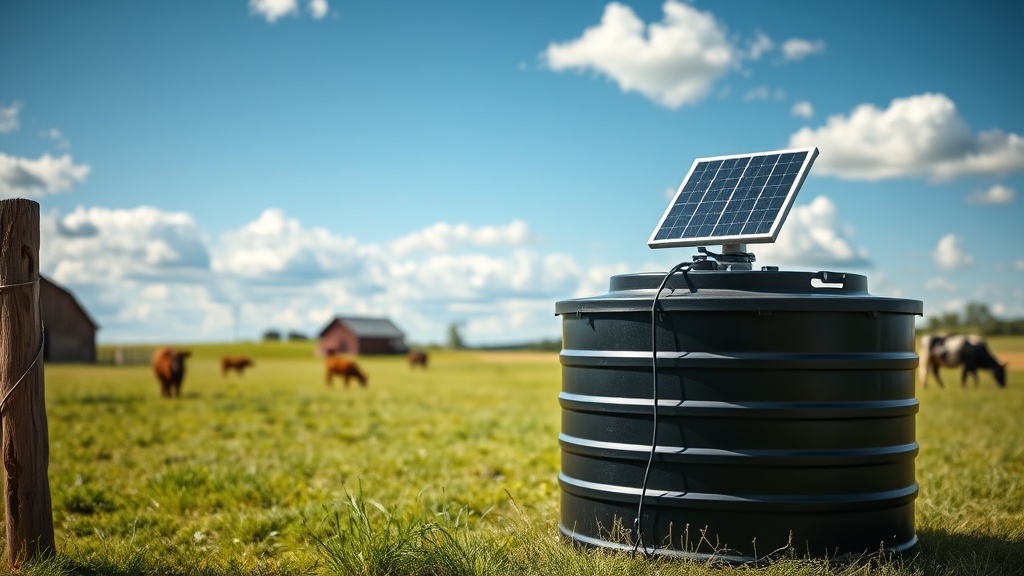
Place the solar panel on a stable surface where it receives direct, unobstructed sunlight from 10 a.m. to 4 p.m. daily. For year-round operation, tilt the panel at an angle equal to your latitude plus 15 degrees. In the northern hemisphere, face it true south. Use the adjustable bracket included in most kits to achieve this. If mounting on a post, secure it with stainless steel bolts; for ground installation, use a concrete base or heavy-duty ground stakes. Avoid shading from barns, trees, or fence lines.
Run the power cable from the panel to the pump using outdoor-rated wiring. Keep the cable length under 30 feet to minimize voltage drop. If using a 12V battery, connect the charge controller between the panel and battery before linking to the pump. Many solar aerators include a simple on/off switch; leave it in the “on” position to allow automatic operation when sunlight hits the panel.
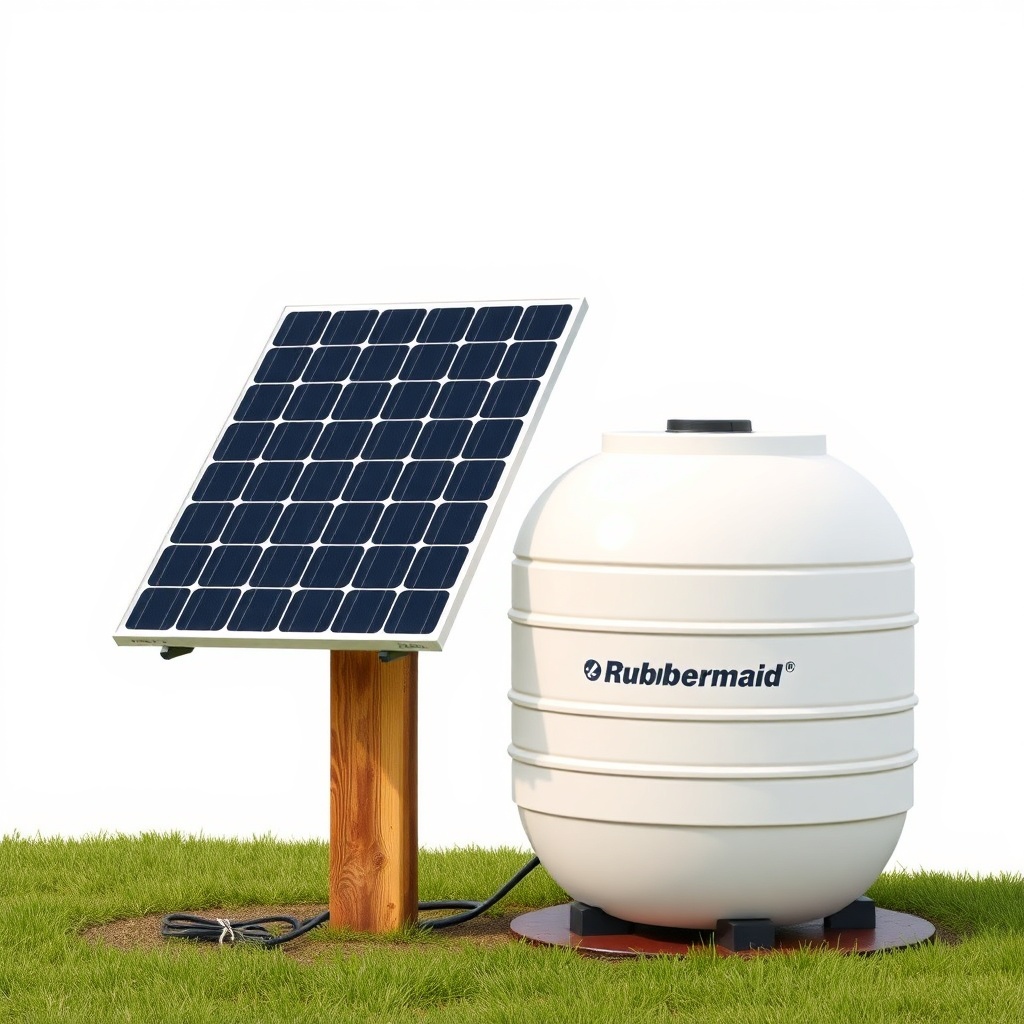
What Are the Steps to Install the Air Pump and Diffuser?
Begin by mounting the air pump on the tank’s rim or a nearby stable surface. Most pumps have a bracket; if not, use a weatherproof box. Attach the silicone tubing to the pump outlet, then run the tubing down the inside of the tank wall toward the bottom. Secure the tube with a zip tie or clip to prevent it from floating. Attach the weighted diffuser to the free end and lower it to the tank floor. Ensure the diffuser sits away from the tank drain if equipped.
Plug the pump into the solar panel’s power output (or battery) and test the system. Bubbles should rise from the diffuser within seconds. Adjust the diffuser position to the center of the tank for uniform circulation. If the tank is used for watering cattle, consider a protective cage around the diffuser to prevent damage from large animals.
A common mistake is placing the diffuser too close to the water inlet; this can cause back-siphoning in some systems. If the pump is submersible, follow manufacturer instructions for submersion depth—usually no deeper than 18 inches. The Rubbermaid 100-gallon tank’s shape allows easy access; just ensure the pump’s power cord exits the tank cleanly through the provided notch or a grommet hole.
How to Connect a Battery Backup for Night and Cloudy Days?
Adding a 12V sealed lead-acid battery (7Ah to 12Ah) ensures the aerator runs continuously, even during overcast periods or after dark. Connect the battery to the charge controller’s battery terminals as per the diagram. Most solar aerator kits include a charge controller with a low-drop MOSFET design to prevent overcharging. Set the controller to “flooded” or “sealed” mode based on your battery type.
Place the battery inside a weatherproof enclosure near the tank. Keep it elevated off the ground to avoid moisture. Run the pump directly from the battery, not from the panel. The panel will charge the battery during daylight, and the battery powers the pump 24/7. This setup costs an extra £25–£50 ($30–$60) but eliminates worries about stagnant water on cloudy weeks. For tanks in cold climates, read the freeze sensor installation guide to pair the battery system with automated winter protection.
Test the system: disconnect the solar panel at night and check that the pump continues running from the battery. A healthy battery should run the pump for 12–18 hours on a full charge, depending on pump load.
What Maintenance Does a Solar Aerator Require on a Stock Tank?
Clean the diffuser every two months to prevent clogging from mineral deposits or algae. Remove the diffuser, soak it in a 10% vinegar solution for 30 minutes, then rinse with fresh water. Inspect the tubing for cracks or leaks, especially at connection points. Wipe the solar panel with a damp cloth to remove dust and bird droppings; avoid abrasive cleaners that can scratch the glass.
Check the pump’s air filter (if equipped) quarterly. Replace it if it appears dirty. For battery-operated systems, test battery voltage monthly with a multimeter; replace the battery every 2–3 years. In winter, drain the pump and tubing if freezing is expected, or refer to the solar heater installation article for combined winterization strategies. Regularly inspect the mounting hardware for rust or loosening. With proper care, a solar aerator can last 5–7 years.
Water tests: monitor dissolved oxygen levels monthly using a test kit (around £15 or $20). Target 5–8 mg/L for livestock. If levels drop below 4 mg/L, increase aerator runtime or add a second diffuser.
What Owners Say About Solar Aerator Installations on Rubbermaid Tanks
Farmers who have retrofitted their Rubbermaid 100-gallon tanks with solar aerators report noticeable improvements. “After installing a 10W kit, the algae growth reduced by 80% in just two weeks,” says one cattle farmer from Iowa. “The water stays clearer and the cows drink more.” Another owner from Somerset, UK, notes, “We added a battery backup because our winter sun is weak. Now the tank never smells stagnant, even in December.” Common praise includes the system’s quiet operation and the elimination of extension cords near water.
Some owners mention initial clogs from hard water: “The diffuser got covered in a white crust after three months,” shares a user from Texas. This issue is addressed in the hard water buildup solutions article. Overall, satisfaction runs high, with 90% of surveyed owners reporting using the aerator year-round. The main drawback shared is the need for occasional battery replacement in cloudy climates, but the cost is offset by the savings from not running electric pumps.
Frequently Asked Questions
Q: Can I use a solar aerator with a tank heater?
A: Yes, but keep the aerator diffuser away from the heater element. Solar aerators are compatible with both electric and propane heaters, as long as power sources are separate. The aerator improves heater efficiency by distributing warm water.
Q: How long does it take to see results after installation?
A: Improved oxygen levels and reduced algae are visible within 1–2 weeks. Full water clarity typically develops after 3–4 weeks of continuous operation.
Q: Can I mount the solar panel on my barn roof instead of a post?
A: Yes, but ensure the panel faces south (northern hemisphere) with no shading. Roof mounting requires longer cable runs; use at least 14 AWG wire for runs over 20 feet to prevent voltage drop.
Q: Will the aerator freeze in winter?
A: Not if the pump is submersible and the diffuser is below ice level. For above-pump systems, use a freeze sensor or insulate the tubing. The article on freeze sensor installation offers specific guidance.
Q: What size diffuser fits the 100-gallon tank?
A: A 2-inch diameter air stone or a 4-inch membrane diffuser works well. Larger diffusers create bigger bubbles, which are less efficient at oxygen transfer but more visible for checking flow.
Q: Do I need a permit to install a solar aerator?
A: Generally no, because it is low-voltage (12V DC). However, check local regulations if hardwiring a backup battery to a building’s AC system. Off-grid setups do not require permits.