Rubbermaid 100-Gallon Stock Tank Repair Guide: Fixing Common Leaks and Cracks
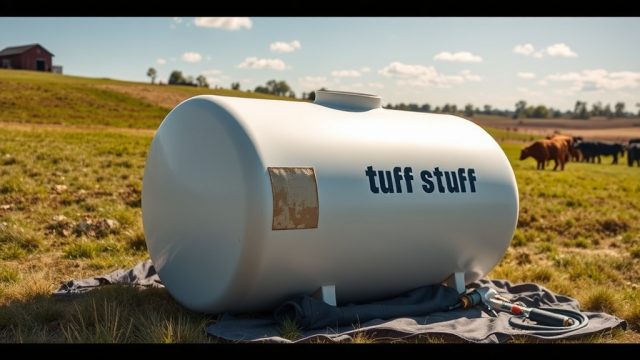
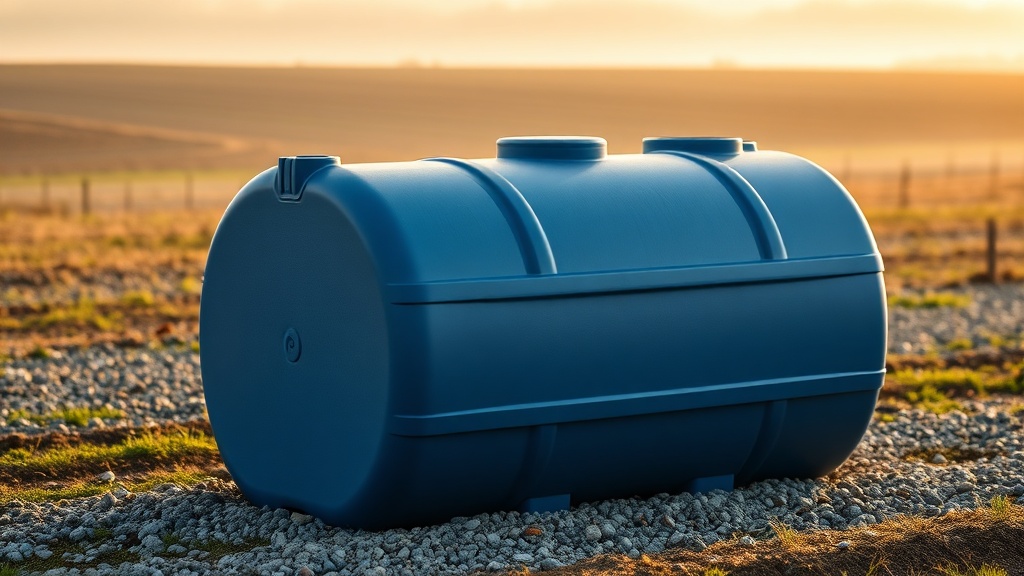
Few pieces of farm equipment live up to their reputation like the Rubbermaid 100-Gallon Stock Tank, a structural foam polyethylene workhorse that has served livestock operations for decades. However, even the toughest tank can develop leaks or cracks from freezing, impact, or UV degradation over many years. This guide provides a structured approach to diagnosing and repairing the most common failures, ensuring you get the maximum return on your investment.
1. How Do I Identify the Source of a Leak in a Rubbermaid 100-Gallon Stock Tank?
Before applying any repair material, confirming the exact leak location is essential. A slow drip can be deceptive, often running along the underside before dropping. Fill the tank to the normal operating line, allow it to sit for a few minutes, then use a clean, dry rag to wipe the suspected area. Watch for the first droplets to appear at the edge of a crack or seam. For hairline fractures, mix a small amount of dish soap with water and brush it over the surface; air bubbles will form at the leak point as pressurized water escapes. Mark the area with a permanent marker. Common trouble spots include the bottom corners near the drain plug, the rim where freeze-thaw cycles concentrate stress, and around the bulkhead fitting if you use a heater attachment.
For owners who notice a consistent drop in water level but cannot locate a visible leak, inspect the underside of the tank thoroughly. Place the tank on a level surface and check the ground for wet spots. If the tank sits directly on concrete or gravel, a crack on the bottom may only become apparent when the tank is empty and dried. Use a flashlight to examine the interior for stress marks—lines that appear whiter than the surrounding material. These indicate areas where the polyethylene has been stretched and may eventually fail.
2. What Are the Best Materials for Patching a Polyethylene Stock Tank?
Not all epoxies or plastics are compatible with the low-density polyethylene (LDPE) or high-density polyethylene (HDPE) used in Rubbermaid tanks. The material is inherently slick and resists adhesion from many common glues. For reliable repairs, use a two-part plastic welding epoxy specifically rated for polyethylene, such as Marine-Tex or a high-quality polypropylene repair kit. These products chemically bond with the polymer rather than just sitting on the surface. For larger cracks over 2 inches, a plastic welding iron or hot air welder with polyethylene filler rods provides the most durable fix, similar to what is detailed in our Rubbermaid 100-Gallon Stock Tank Material Review: Polyethylene vs. Steel.
Avoid using standard silicone caulk, super glue, or duct tape. These will fail within days under the weight and pressure of 100 gallons of water (roughly 830 pounds). For temporary emergency repairs, a rubberized patch combined with a stainless steel hose clamp can buy 24 to 48 hours, but it is not a permanent solution. Always clean the crack area with isopropyl alcohol or acetone and abrade the surface with 80-grit sandpaper to create a tooth for the epoxy to grip. If the crack is located at a stress point like a corner or rim, consider reinforcing the interior side with a fiberglass mesh embedded in epoxy to distribute future forces.
3. Can I Repair a Frozen, Cracked Bottom on a 100-Gallon Rubbermaid Tank?
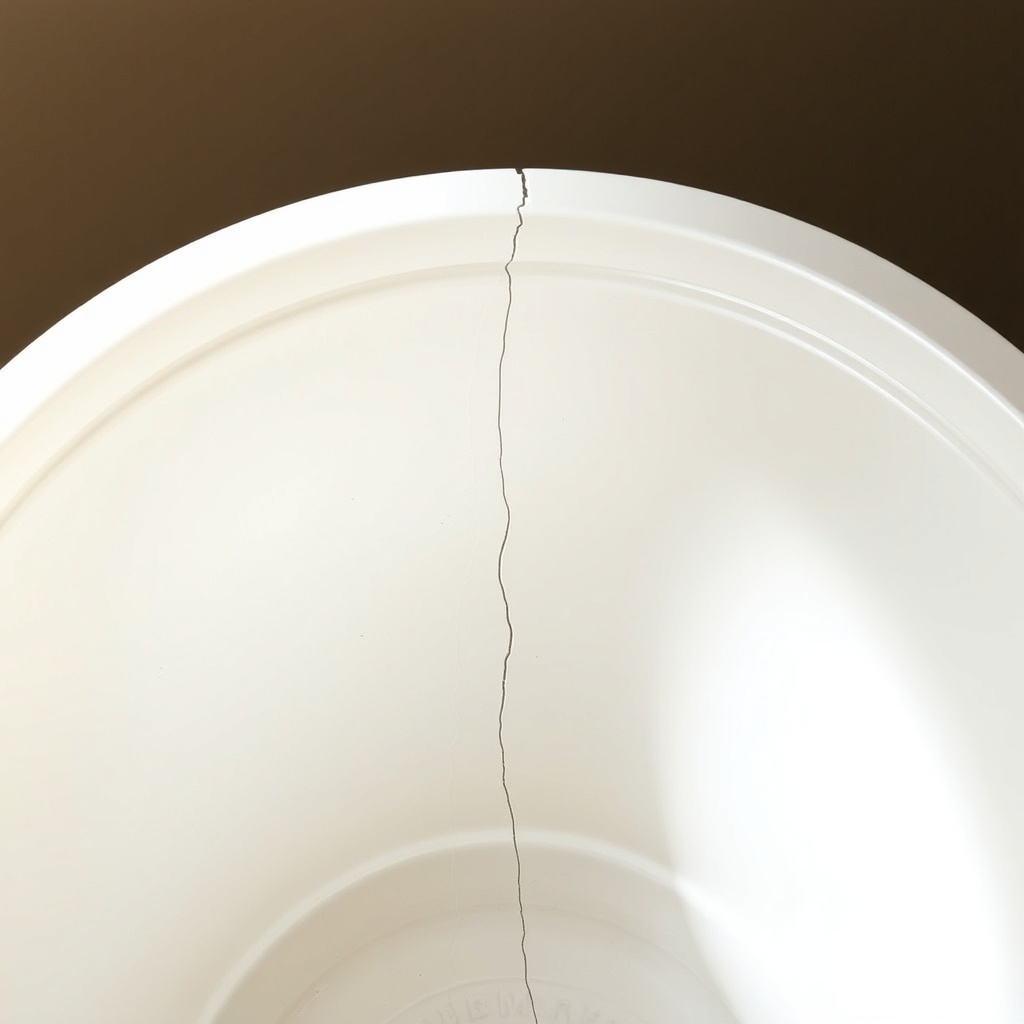
Freeze damage is the most common and most severe issue. When water freezes, it expands by approximately 9%, generating immense pressure that can split the bottom or sidewall. If the crack runs across the entire base, beyond a simple hairline fracture, the tank may be structurally compromised. In many cases, a cracked bottom can be salvaged with a multi-step repair, but you must assess the nature of the split. For a single crack less than 3 inches long that does not extend to the sidewall, a plastic weld from the inside is highly effective. Drill a small stop hole at each end of the crack to prevent it from propagating further. Then V-groove the crack using a rotary tool to a depth of about half the material thickness. Apply the epoxy filler in two layers, allowing the first to cure completely before adding the second.
For multiple cracks radiating from the center or a complete separation along the base seam, the structural integrity is likely gone. Replacing the tank may be more economical than multiple repairs. A new Rubbermaid 100-gallon stock tank typically retails for $110 to $140. If the repair requires more than one tube of epoxy (around $25 each) plus several hours of labor, replacement is the better choice. For tanks still under warranty (usually 5 to 10 years depending on the model), contact Rubbermaid or the retailer for a potential replacement. Always consider the cost of your time and water wasted from a continuing leak. A temporary repair on a deeply cracked bottom often fails within two seasons, leading to further frustration.
| Damage Type | Crack Length | Location | Repair Difficulty | Estimated Cost | Recommended Action |
|---|---|---|---|---|---|
| Hairline surface crack | Under 1 inch | Sidewall only | Easy | £12–£18 | Epoxy patch from exterior |
| Moderate crack | 1–3 inches | Sidewall or rim | Moderate | £20–£35 | Plastic weld with filler rod |
| Severe freeze crack | 3–6 inches | Bottom or base seam | Hard | £40–£60 | Interior V-groove + fiberglass mesh |
| Complete bottom separation | Over 6 inches | Full base split | Very Hard | £70–£90 | Replace tank entirely |
4. How Do I Repair a Leak Around the Drain Plug or Bulkhead Fitting?
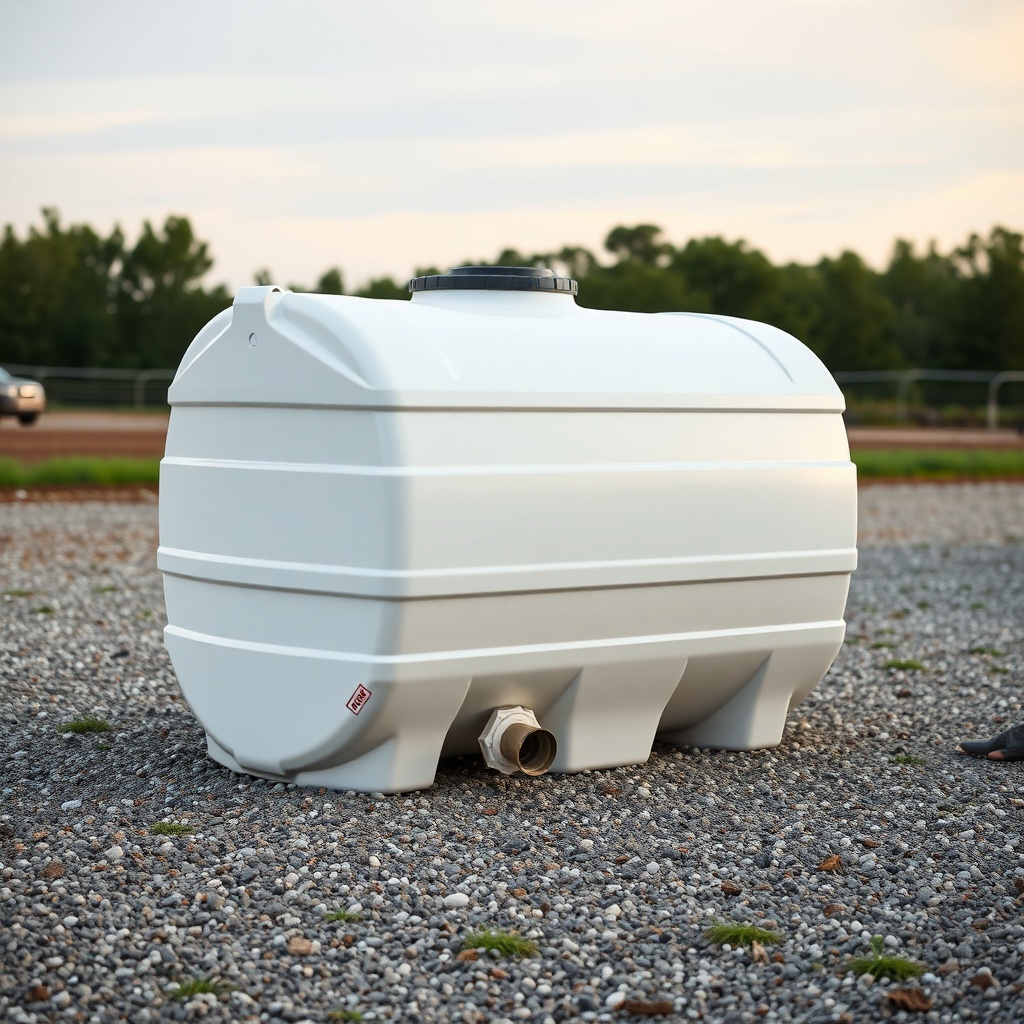
Leaks at the drain plug are often not caused by the tank itself but by a worn gasket or improper installation. The Rubbermaid 100-gallon tank comes with a threaded polypropylene drain plug. Over time, the O-ring can dry out, flatten, or crack. The first step is to remove the plug and inspect the O-ring. If it is compressed or brittle, replace it with a standard rubber O-ring from a hardware store (roughly £2 for a pack of three). Apply a light layer of silicone lubricant to the O-ring before reinstalling to ensure a proper seal. Tighten the plug by hand only; overtightening can warp the plastic threads and cause permanent leakage.
If the leak originates from where the bulkhead fitting meets the tank wall, the issue may be a hairline crack radiating from the hole. This occurs when the tank is overfilled and subjected to lateral stress or when the tank freezes at the drain point. In such cases, a repair similar to plastic welding is needed. Remove the drain plug entirely, thoroughly dry the area around the hole, and apply a polyethylene-compatible epoxy putty around the perimeter of the hole on both the interior and exterior sides. Allow 24 hours of full cure before reinstalling the plug. For tanks used with electric heaters, ensure the heating element does not contact the plastic directly, as this can melt the material near the drain. Refer to our Rubbermaid 100-Gallon Stock Tank Material Review: Polyethylene vs. Steel for guidance on compatible accessories.
5. What Owners Say About Rubbermaid 100-Gallon Stock Tank Durability and Repairs?
Experienced livestock owners consistently praise the Rubbermaid 100-gallon tank for its light weight and chemical resistance, but they are equally vocal about its vulnerability to freezing. Many report that a tank left full over winter without a de-icer will inevitably crack, even the thick-walled structural foam models. One common testimonial from a cattle operation in Yorkshire: “I’ve had three of these tanks over ten years. The first two cracked because I didn’t put a heater in during January. Once I started using a floating de-icer, my current tank has been flawless for four years.” Another owner notes that the UV resistance is excellent, with no significant fading or brittleness after six years of direct summer sun.
For repairs, the consensus is that plastic welding is superior to any paste or glue. “I tried a tube of epoxy from the farm supply store for a 2-inch crack, and it lasted only two weeks. Then I bought a cheap plastic welder from Amazon for £45 and some polyethylene filler rods. It took about 30 minutes to fix, and that was three years ago—still bone dry,” says a smallholder in Devon. Some users recommend cutting a patch from a spare piece of polyethylene plastic and melting it in with a soldering iron for an even stronger bond. The primary frustration is the difficulty of accessing the underside of the tank for repair, especially when it sits flush on the ground. Many suggest mounting the tank on a concrete block or wooden pallet to allow easy inspection and maintenance.
6. How to Prevent Future Cracks in My Rubbermaid 100-Gallon Stock Tank?
Prevention is far more cost-effective than repair. The most critical measure is managing freeze-thaw cycles. Install a thermostatically controlled de-icer or tank heater rated for at least 800 watts to keep water temperature above freezing in cold climates. Even with a heater, ensure the drain plug is closed and the tank is full; a partially filled tank can shift and crack under ice pressure. Additionally, inspect the tank at the start of each season. Look for stress whitening lines, especially around the corners and rim. These indicate areas that may crack under the next hard freeze.
Another key preventive step is proper installation. Place the tank on a flat, stable surface. Avoid sharp gravel or rocks that can concentrate pressure on the bottom. A bed of sand or a rubber mat underneath will distribute the weight evenly. If the tank is exposed to direct sunlight for more than 8 hours daily, consider a UV-protective paint or a shade structure. Polyethylene will degrade over many years under constant UV radiation, making it more brittle. Finally, when cleaning the tank, use a soft brush and avoid harsh chemical solvents like acetone or gasoline that can soften or damage the plastic. Simple warm water and a mild dish soap are sufficient for algae and sediment removal. For a deeper dive into material care, see our Rubbermaid 100-Gallon Stock Tank Material Review: Polyethylene vs. Steel for long-term maintenance comparisons.
Frequently Asked Questions
1. Can I use standard epoxy for a Rubbermaid stock tank repair?
No, standard epoxy does not bond well with polyethylene. Use a two-part plastic welding epoxy specifically rated for HDPE or LDPE for reliable results.
2. How long does a plastic weld repair last on a stock tank?
With proper surface preparation and application, a plastic weld can last several years. Many owners report repairs holding for 2 to 5 years without issues.
3. Is it worth repairing a 100-gallon Rubbermaid tank?
Yes, for cracks under 3 inches. The repair cost is typically £15–£35, while a new tank is £110–£140. For larger cracks or multiple failures, replacement is more practical.
4. How do I keep the tank from cracking in winter?
Use a de-icer or tank heater, keep the tank full, and ensure the drain plug is sealed. Place the tank on a level surface away from direct freeze-thaw zones.
5. Can I drill a new hole in the tank for a second drain?
Yes, but only if the hole is made with a sharp drill bit at low speed to avoid melting the plastic. Use a rubber gasket on both sides to prevent leaks and stress points.
6. Where can I find replacement drain plugs for the Rubbermaid 100-gallon tank?
Replacement plugs are available at most farm supply stores or online for around £5–£10. Ensure the threads match your tank model (usually 1-inch NPT).