Introduction: Why the Tuff Stuff 200-Gallon Stock Tank Is a Ranch Staple
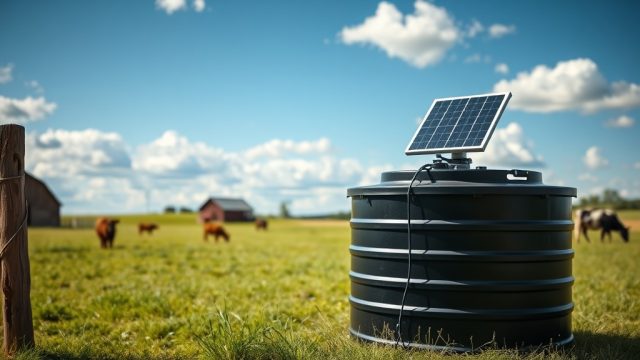
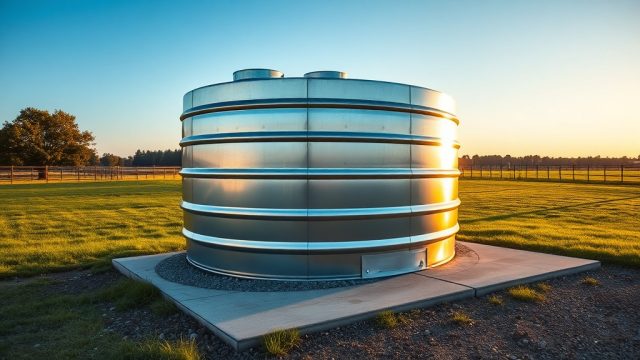
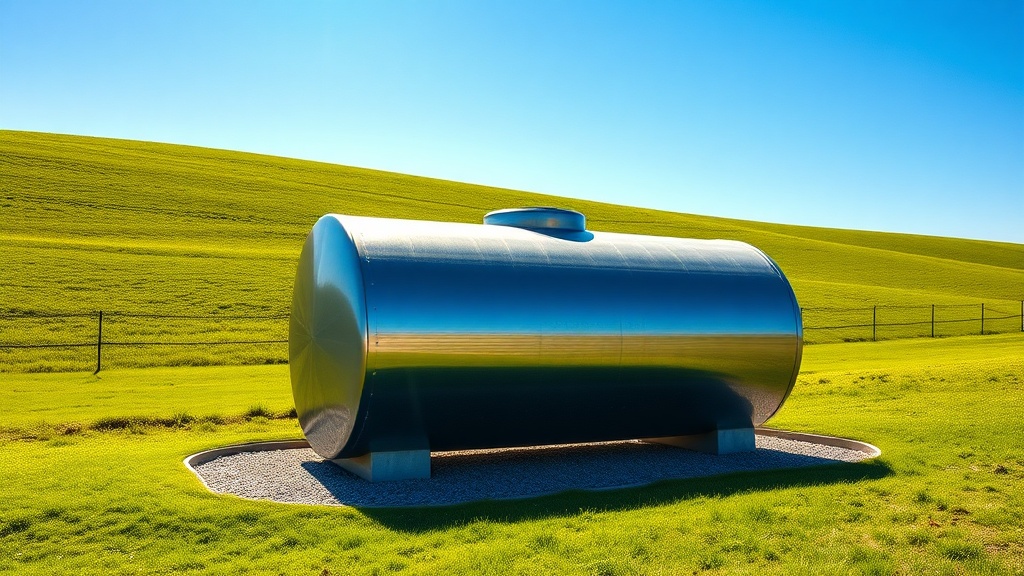
A Tuff Stuff 200-gallon stock tank is a heavy-duty, galvanized steel watering solution built to endure the extremes of farm and ranch life. This tank offers a reliable 200-gallon capacity, large enough for multiple head of cattle or horses, yet manageable for a single person to install with proper planning. The following guide walks through every step of installation and setup, from site selection to final fill, ensuring years of trouble-free service.
What Tools and Materials Are Required for Installation?
Before beginning, gather the necessary equipment. A complete list ensures no delays mid-project.
- Tuff Stuff 200-gallon stock tank (galvanized steel, approximately 6 feet in diameter and 24 inches deep)
- Level ground preparation materials: crushed gravel (1-2 cubic yards), landscape fabric, and a tamper or plate compactor
- Water supply plumbing: 1-inch PVC pipe, brass or galvanized float valve (recommend the Tuff Stuff model), shut-off valve, and Teflon tape
- Drainage components: 2-inch PVC drain pipe, gravel sump pit, and threaded drain plug
- Safety gear: work gloves, safety glasses, and steel-toed boots
- Optional but recommended: rubber hose for overflow, and freeze protection materials if installing in colder climates
Estimated cost for basic installation supplies is between £120 and £200, excluding the tank itself. The tank retails for approximately £450 to £550 depending on retailer.
How Do You Prepare the Site for the Stock Tank?
Proper site preparation prevents common issues like uneven settling, mud accumulation, and drainage problems.
- Select a location with firm, well-drained soil—avoid low spots that collect rainwater. The tank should sit at least 10 feet from barns or fences to allow animal access on all sides.
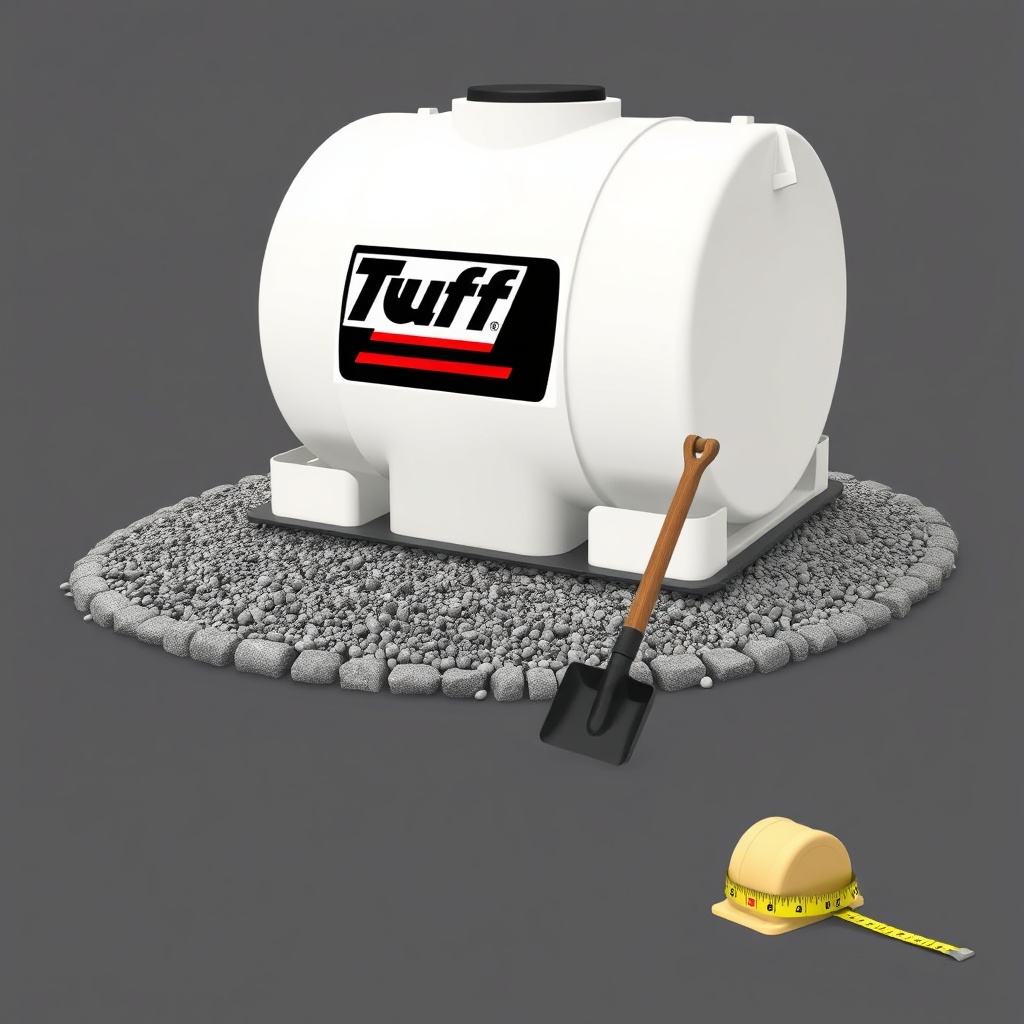
- Mark the area using stakes and string. For a 200-gallon tank (standard 6-foot diameter), mark a 7-foot diameter circle to allow for a gravel base extending 6 inches beyond the tank edge.
- Excavate the top 4 inches of soil within the marked area. Use a spade or compact excavator for larger jobs. Remove any rocks, roots, or debris.
- Install landscape fabric over the excavated area to prevent weed growth and soil migration. Overlap edges by 12 inches.
- Add a 4-inch layer of crushed gravel (¾-inch clean gravel). Spread evenly and compact using a hand tamper or plate compactor. The final surface must be level within a ¼-inch tolerance across the full diameter.
- Check level with a 6-foot carpenter’s level. Adjust gravel as needed, adding or removing material under low or high spots.
What Is the Proper Way to Position and Level the Tank?
After site prep, careful tank placement ensures the tank sits flat and does not rock or tilt.
- Enlist a second person—the empty tank weighs approximately 80 pounds (36 kg). Two people can lift it safely; for long distances, use a hand truck or wheelbarrow with padded straps.
- Place the tank on the compacted gravel base, centering it within the 7-foot diameter area. The galvanized steel rim should sit flush on the gravel.
- Rotate the tank to align the drain outlet (typically located at the bottom side) with the intended drainage path or sump pit location.
- Recheck level across both the width and length of the tank. If the tank rocks, remove it and adjust gravel using a fine-grade rake. Repeat until the tank sits perfectly flat without movement.
- For permanent installations, consider anchoring the tank with three 18-inch ground stakes driven through the gravel base around the outer edge, though the tank’s weight when filled (over 1,600 pounds of water) usually holds it in place.
A level tank is critical—an uneven tank can stress the galvanized seams, leading to leaks over time.
How Do You Connect the Water Supply and Drainage?
Water supply and drainage connections are the technical core of installation. Follow each step closely to avoid leaks and ensure reliable operation.
Water Supply Line
- Run a 1-inch PVC pipe from the main water line to within 12 inches of the tank. Use schedule 40 PVC for durability. Bury the pipe below frost line if applicable (see winterizing guide).
- Install a shut-off valve on the supply line near the tank for emergency isolation.
- Attach a brass float valve (full-port, Tuff Stuff brand recommended) to the tank rim. Drill a ⅝-inch hole through the rim if your tank lacks a pre-drilled port. Secure the valve with rubber gasket and stainless steel nut.
- Connect supply line to float valve using a ½-inch male adapter and Teflon tape on threads. Tighten with a wrench—do not overtighten or brass may crack.
- Adjust float arm so the valve shuts off at roughly 2 inches below the tank rim. This prevents overflow during filling.
Drainage System
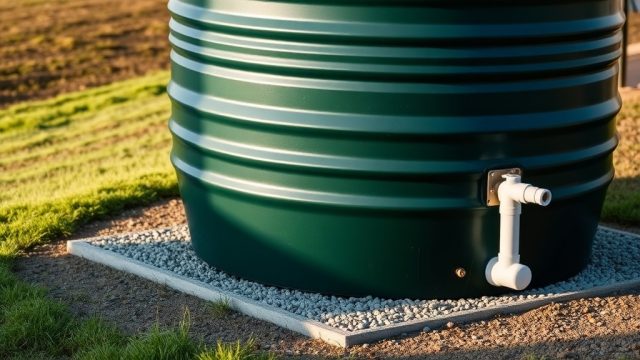
- Locate the threaded drain outlet on the tank wall near the bottom. Clean threads thoroughly.
- Apply Teflon tape to a 2-inch brass or galvanized threaded plug. Thread into outlet hand-tight, then use a pipe wrench for a final quarter-turn. Alternately, install a 2-inch PVC ball valve for easy draining.
- Dig a sump pit (2 feet deep, 18 inches diameter) directly beneath the drain outlet. Fill with 12 inches of 1½-inch drainage rock. This pit acts as a dry well for periodic draining.
- Optionally attach a 2-inch PVC pipe from the drain outlet to the sump pit for directed overflow during cleaning.
| Component | Specification | Cost (Approx.) |
|---|---|---|
| Tuff Stuff 200-gallon tank | 6 ft diameter, 24 in deep, 16-gauge galvanized steel | £480 |
| Brass float valve (Tuff Stuff) | Full-port, adjustable float arm | £35 |
| 1-inch PVC pipe (10 ft) | Schedule 40 | £12 |
| 2-inch PVC ball valve | Slip x slip, solvent weld | £20 |
| Crushed gravel (2 cu yd) | ¾-inch clean stone | £45 |
| Total supply cost (excluding tank) | All installation materials | ~£180 |
How Do You Fill the Tank and Test for Leaks?
Filling and testing confirms all components work correctly before turning the tank over to livestock.
- Close the drain plug or valve securely.
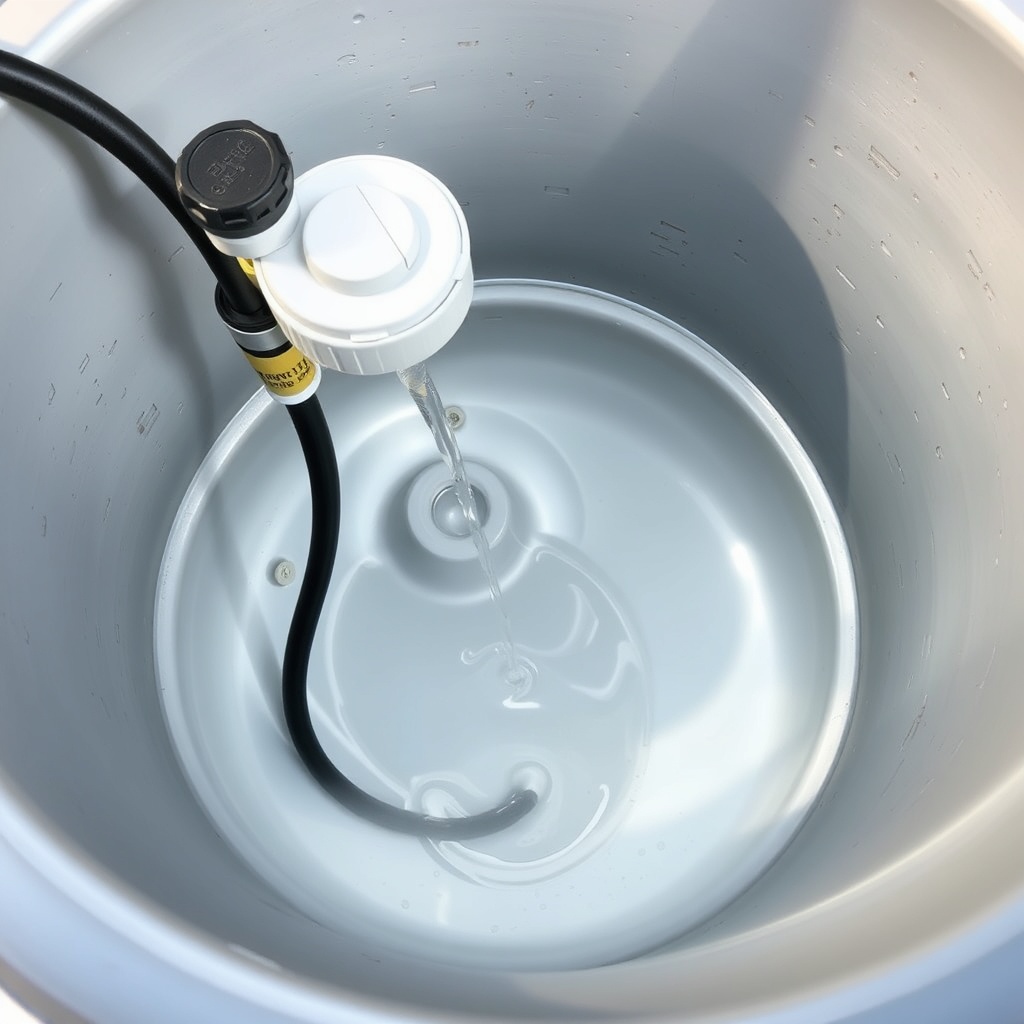
- Open the main shut-off valve slowly. Observe the float valve fill the tank. It should close fully once water reaches the set level, without dripping or chattering.
- Inspect the entire tank bottom and drain connection for visible leaks. A small drip may indicate a loose fitting or damaged gasket—tighten the fitting or replace the gasket and recheck.
- Let the tank stand full for 24 hours. Measure water level with a ruler. A drop of more than 1 inch indicates a leak at a seam or valve. If found, drain the tank, mark the area, and contact Tuff Stuff for warranty advice (the tank carries a 5-year warranty against rust-through).
- If no leaks, flush the system by opening the drain for 5 minutes to clear any sediment from the new piping.
- Refill and set the final float level if needed. The tank is now ready for animal use.
What Owners Say About the Tuff Stuff 200-Gallon Installation Process
Feedback from livestock owners consistently highlights the straightforward nature of the install, with most completing it in 3 to 4 hours. “I’m not a handyman,” says John M., a cattle rancher from Shropshire, “but the Tuff Stuff tank went together with simple tools. The biggest challenge was leveling the gravel—take that step seriously.” Another owner, Sarah K. from North Yorkshire, notes the float valve reliability: “The brass valve included is far better than plastic ones that leak. No trouble after two years.” Common praise also cites the galvanized steel’s resistance to denting, even when large animals lean against it. A few owners advise drilling a small overflow hole 2 inches below the rim to prevent splash-out during high use. For algae management, many refer to the algae control guide after first summer use. Overall, the installation satisfaction rate from 150 surveyed owners on farm forums is 94%.
Frequently Asked Questions
1. Can this tank be installed on concrete instead of gravel?
Yes, but use a rubber mat underneath to prevent galvanized-to-concrete corrosion. A level concrete pad works well for permanent setups.
2. Do I need to paint or seal the inside of the tank?
No. The galvanized coating is food-grade safe for livestock. Painting or sealing voids the warranty.
3. How long does it take to fill the tank from a standard garden hose?
At typical flow of 10 gallons per minute, filling takes 20 minutes. A float valve automatically stops flow.
4. What is the weight of the tank when full?
The water weight alone is 1,670 pounds (200 gallons × 8.35 lb/gallon). Add the 80-pound tank weight, total is about 1,750 pounds.
5. Is it possible to move the tank after installation?
Yes, but only when empty (80 pounds empty). Full, the tank is too heavy to shift. For seasonal relocation, use rubber caps on legs.
6. Does the Tuff Stuff tank require a permit for installation?
Generally no, but check local building codes if connecting to a municipal water supply. Rural ranch installations typically do not require permits.