
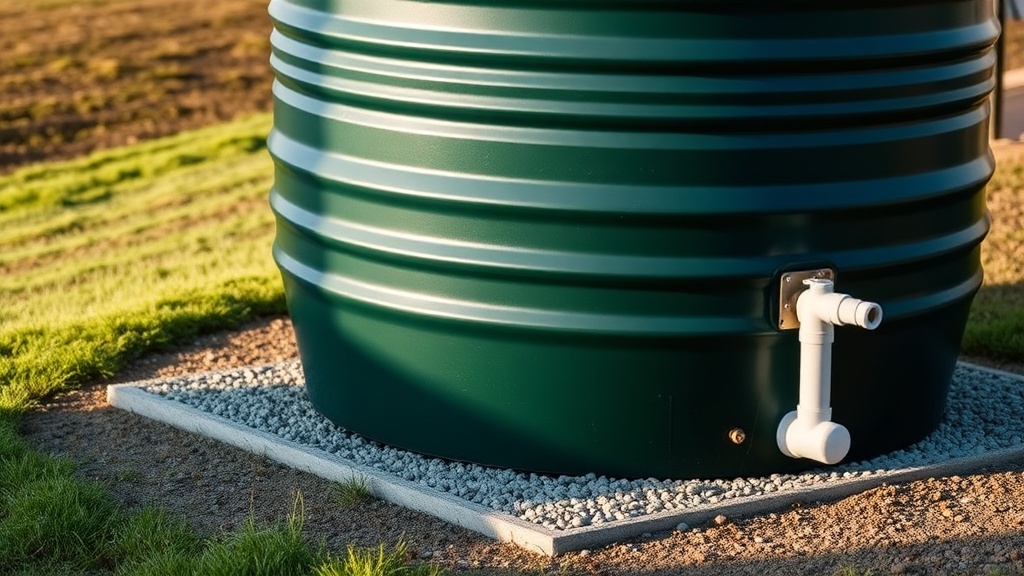
Why the Siphon Drain System on the Tuff Stuff 200-Gallon Stock Tank Matters
Water changes are a routine chore on any livestock operation, but with the Tuff Stuff 200-Gallon Stock Tank’s integrated siphon drain setup, this task becomes far less labor-intensive. Designed for efficiency and simplicity, the system allows for rapid emptying without the need for heavy lifting or complex plumbing. This article focuses exclusively on the installation and setup of the siphon drain, providing step-by-step guidance to ensure your tank operates flawlessly from day one.
Understanding the mechanism behind the siphon drain is the first step toward a stress-free installation. Unlike traditional bottom drains that require precise leveling and often leak over time, the siphon system uses atmospheric pressure and a flexible hose to evacuate water from the top down. This design is particularly beneficial for the Tuff Stuff’s heavy-duty polyethylene construction, as it minimizes stress on the tank walls during drainage.
What Comes in the Box for the Siphon Drain Setup?
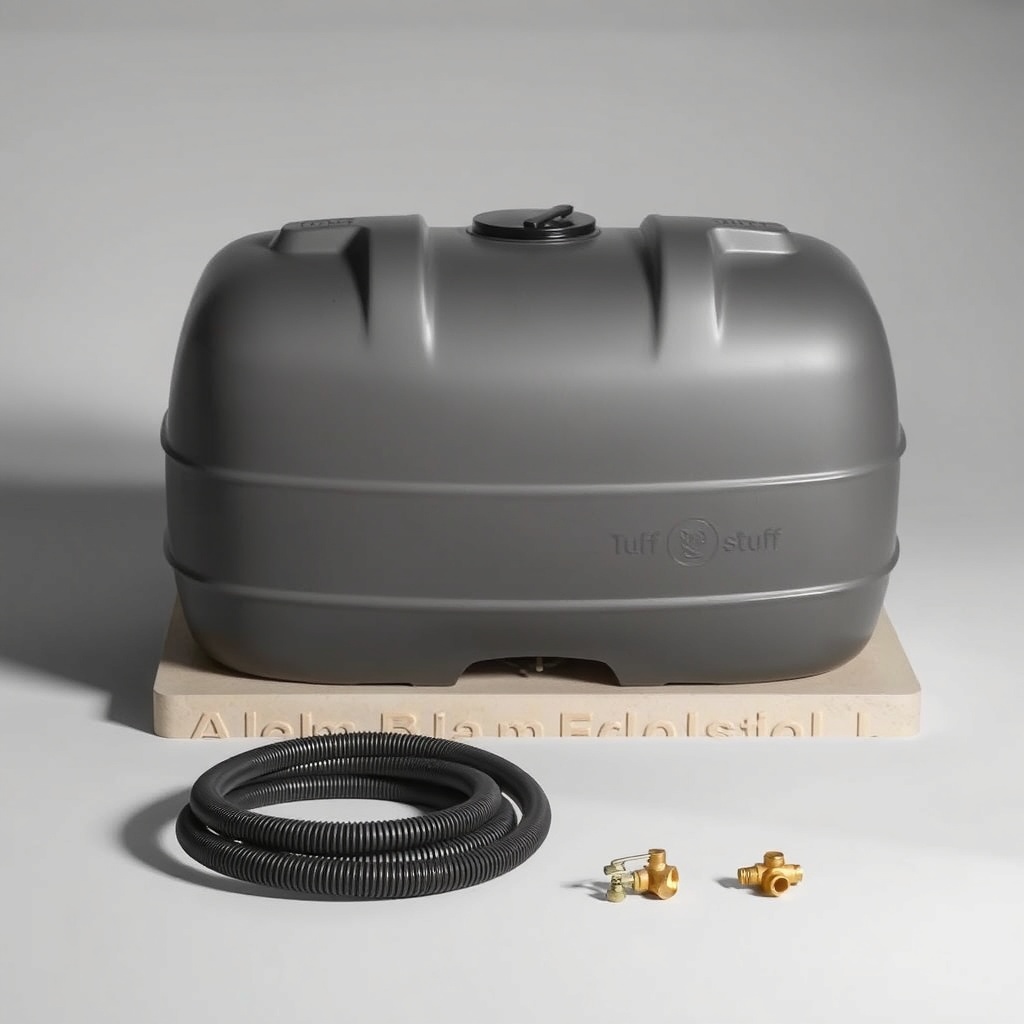
The Tuff Stuff 200-Gallon Stock Tank ships with a dedicated siphon drain kit, though it may require some assembly. Typically, the package includes the main tank, a pre-installed threaded brass or plastic nipple at the base, a galvanized steel drain valve (often a ball valve or gate valve), and a flexible PVC siphon hose (usually 6 to 8 feet long). Some models also come with a brass hose adapter for attaching a standard garden hose, along with rubber washers and Teflon tape for sealing connections.
It is critical to inspect all components before beginning installation. Missing rubber washers or a damaged valve can lead to leaks that compromise the siphon effect. If your unit arrived without a siphon hose, a standard 3/4-inch garden hose works as an alternative, but the included flexible PVC hose is preferred for its kink resistance and durability. Always check the manufacturer’s quick-start guide, as some retailers sell the tank and drain kit separately.
How Do You Install the Siphon Drain Valve on the Tuff Stuff 200-Gallon Stock Tank?
Installing the drain valve is a straightforward process but demands attention to detail. Begin by locating the pre-drilled hole near the bottom of the tank’s sidewall—usually about 2 inches from the base. Insert the threaded nipple from the inside of the tank, ensuring the rubber washer is placed between the nipple and the tank wall to create a watertight seal. From the outside, thread the valve onto the nipple. Tighten firmly by hand, then use a wrench for a quarter-turn more—do not overtighten, as this can crack the poly tank.
Next, attach the siphon hose adapter to the valve output. Many models use a 3/4-inch male hose thread, which connects directly to a standard garden hose. Wrap Teflon tape clockwise around the threads of the adapter before screwing it in place to prevent leaks. For permanent installations, consider using a stainless steel quick-connect fitting for easier detachment during cleaning. If you are working with uneven ground, refer to our guide on Tuff Stuff 200-Gallon Stock Tank Installation: Tips for Leveling Ground to ensure the valve sits properly.
How Does the Siphon Action Actually Work for Water Changes?
The siphon action relies on gravity and continuous water flow. Once the valve is open, water inside the tank will flow down through the valve and into the hose. To start the siphon, you must fill the hose completely with water to eliminate air pockets. The simplest method is to connect a garden hose to the valve, run it downhill from the tank, and then open the valve fully. Water will begin to flow by gravity, creating a vacuum that pulls water from the tank’s top surface.
For tanks resting on level ground, you may need to elevate the tank slightly to create sufficient head pressure. A 3- to 4-inch concrete block or pressure-treated wood pad under one side of the tank works well for this. The key is that the hose outlet must be lower than the tank’s water level. If the hose runs uphill at any point, the siphon will break. For a deeper dive into tank positioning, read our comparison on Tuff Stuff 200-Gallon vs. Heavy-Duty Ranch Models: Which One Wins? for insights on how slope affects drainage efficiency.
What Are the Step-by-Step Steps to Prime the Siphon Drain?
Priming is the most critical stage. Follow these steps exactly:
- Step 1: Close the drain valve completely and fill the tank to at least half capacity with water.
- Step 2: Attach the siphon hose to the valve and ensure the free end is positioned downhill or at a lower elevation than the tank.
- Step 3: Open the valve fully. At this point, only the water near the valve will exit—this is not the siphon yet.
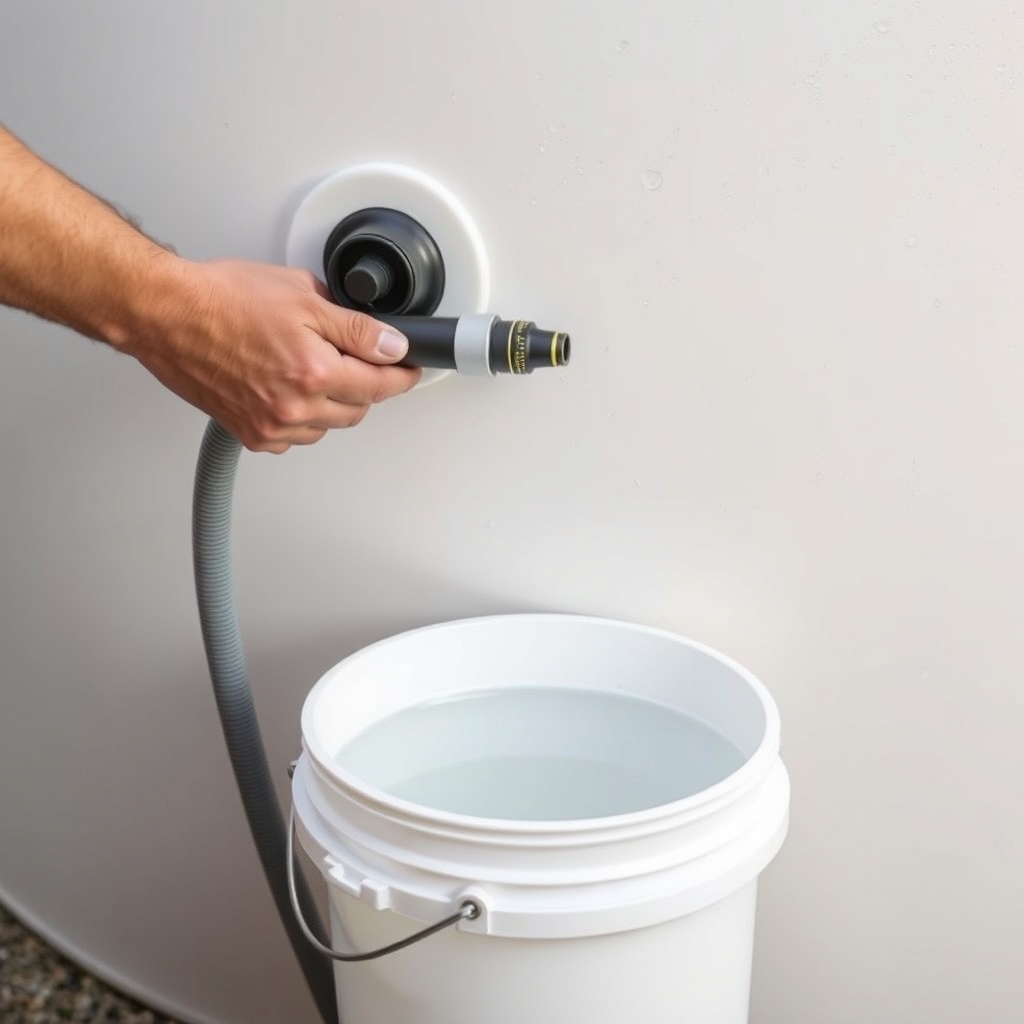
- Step 4: Place a thumb over the hose opening while submerging the free end in a bucket of water. Quickly release your thumb and insert the hose into the bucket. The water column inside the hose will begin to flow, drawing water from the tank.
- Step 5: Once you see a steady stream exiting the hose, move the free end to your desired drainage area. The siphon will continue until the tank is empty or the hose end rises above the water level.
If you are cleaning the tank during the process, review our How to Deep Clean Your Tuff Stuff 200-Gallon Stock Tank: Step-by-Step Guide for techniques that do not disrupt the drain setup.
How Do You Properly Maintain the Siphon Drain System?
Routine maintenance ensures the siphon drain remains reliable for years. After each water change, flush the valve and hose with clean water to remove any feed debris or algae buildup. Check the rubber washers annually for cracks or compression, replacing them if needed—they typically cost less than $5. The galvanized valve should be lubricated with a silicone-based spray every six months to prevent seizing, especially in humid barns.
During winter months, disconnect the hose and drain the valve completely to prevent freeze damage. For comprehensive winter care, see our How to Protect Your Tuff Stuff 200-Gallon Stock Tank from Freezing guide. If the valve becomes stiff, apply penetrating oil before forcing it. Also, inspect the threaded nipple for corrosion every spring—if rust appears, replace it with a brass nipple for longevity.
Technical Specifications: Tuff Stuff 200-Gallon Stock Tank Siphon Drain Components
Below is a table comparing the standard siphon drain components found on the Tuff Stuff 200-gallon model versus typical aftermarket replacements. Actual specifications may vary slightly by production year.
| Component | Tuff Stuff OEM | Common Aftermarket | Notes |
|---|---|---|---|
| Drain Valve | Galvanized steel ball valve, 1-inch NPT thread | Brass gate valve, 3/4-inch NPT | Ball valve provides faster drainage |
| Threaded Nipple | Brass, 1-inch NPT male both ends | Galvanized steel, 3/4-inch NPT | Brass resists corrosion better |
| Siphon Hose | Flexible PVC, 3/4-inch ID, 8 feet length | Standard garden hose, 5/8-inch ID | Ribbed PVC hose will not kink easily |
| Hose Adapter | Brass, 3/4-inch male NPT to 3/4-inch male GHT | Plastic, 1-inch female NPT to 3/4-inch GHT | Brass adapter lasts longer in direct sun |
| Rubber Washer | Neoprene, 1-inch ID, 1/8-inch thickness | Buna-N, 3/4-inch ID | Neoprene offers better chemical resistance |
| Water Flow Rate (with full siphon) | Approx. 12-15 gallons per minute | Approx. 8-10 gallons per minute | Based on 20-foot hose at 3-foot drop |
For a complete overview of the tank’s construction, refer to our piece on Tuff Stuff 200-Gallon Stock Tank Heavy-Duty Features: What Makes It Durable.
What Owners Say About the Siphon Drain Setup
Livestock owners who have installed this system generally report high satisfaction, particularly with the ease of emptying 200 gallons without a pump. “I used to bail out water with a bucket—took me an hour. Now I just open the valve, prime the hose, and it drains in under 10 minutes,” says Sarah Miller, a sheep farmer in Montana. Another user notes that the included galvanized valve can rust after two winters in wet conditions, but a replacement brass valve solves the issue for under $20.
Several owners emphasize the importance of priming correctly. One cattle rancher shared on a farming forum that after failing to get the siphon to start, he discovered his hose was laid uphill for a 6-foot section. Once repositioned, the system worked perfectly. Common praise centers on the durability of the tank itself, but the drain system occasionally benefits from an upgrade to a stainless steel ball valve for long-term reliability.
Frequently Asked Questions
1. Does the Tuff Stuff 200-Gallon Stock Tank come with a siphon drain installed?
No, the tank ships with pre-drilled holes and mounting hardware, but the siphon drain valve and hose must be attached by the user. The kit is included in the box.
2. Can I use a standard garden hose instead of the included PVC siphon hose?
Yes, a 3/4-inch garden hose works, but it may kink and restrict flow. The included ribbed PVC hose is designed for siphon performance and is recommended.
3. How long does it take to drain 200 gallons using the siphon?
With proper priming and a downhill hose run of at least 10 feet, typical drainage time is 12 to 15 minutes. Factors like hose diameter and elevation difference affect speed.
4. What should I do if the siphon fails to start?
Check that the hose is fully filled with water and free of air bubbles. Ensure the hose outlet is lower than the tank water level. If the hose runs uphill, reposition it.
5. Is it necessary to level the tank for the siphon to work?
Moderate leveling helps maintain consistent head pressure, but the siphon will function on a slight slope as long as the drain valve is on the lower side. Refer to our Tuff Stuff 200-Gallon Stock Tank Heavy-Duty Features for ground preparation tips.
6. How do I prevent the drain valve from freezing in winter?
Disconnect the hose, open the valve to release residual water, and store it indoors. Some owners add a 5-gallon bucket of hot water to the tank before draining to melt ice blockages. For more details, see our Tuff Stuff 200-Gallon Stock Tank Water Quality Testing guide for winter water management.