Why Ground Leveling Matters for Your Tuff Stuff 200-Gallon Stock Tank
Installing a Tuff Stuff 200-Gallon Stock Tank requires careful ground preparation to ensure structural integrity and long-term performance. An unlevel base can lead to uneven water distribution, stress on the tank walls, and premature wear on the galvanized steel. This guide covers the essential tips and techniques for leveling the ground before setup, saving you time and frustration.
Whether you are placing the tank for cattle, horses, or other livestock, a level foundation is the cornerstone of a safe and functional watering station. The Tuff Stuff 200-Gallon model weighs approximately 45 pounds empty and over 1,600 pounds when filled, making ground stability non-negotiable.
What Is the Best Base Material for Leveling?
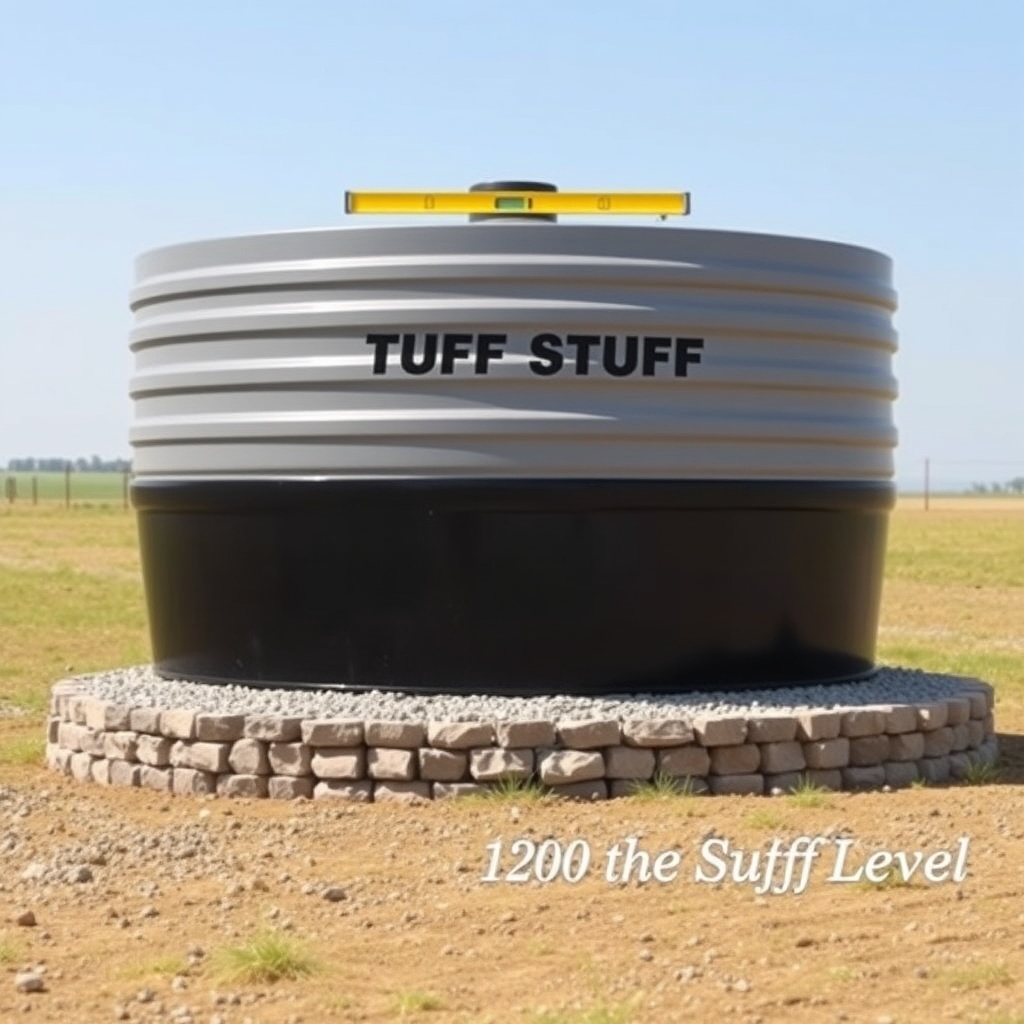
The ideal base for your Tuff Stuff 200-Gallon Stock Tank is a well-compacted aggregate that provides drainage and prevents settling. Common options include crushed limestone, gravel, or decomposed granite. Avoid soft materials like sand or topsoil, which can shift under the weight of the filled tank.
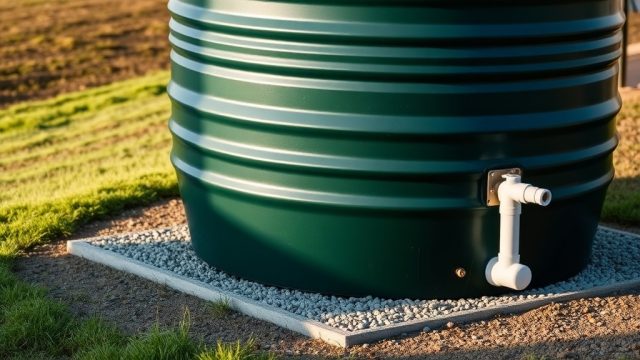
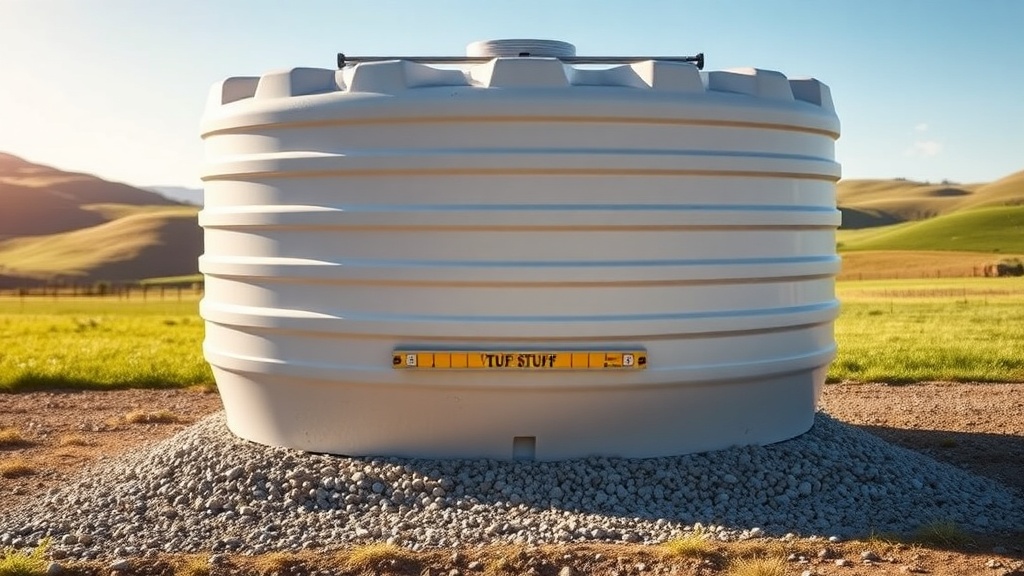
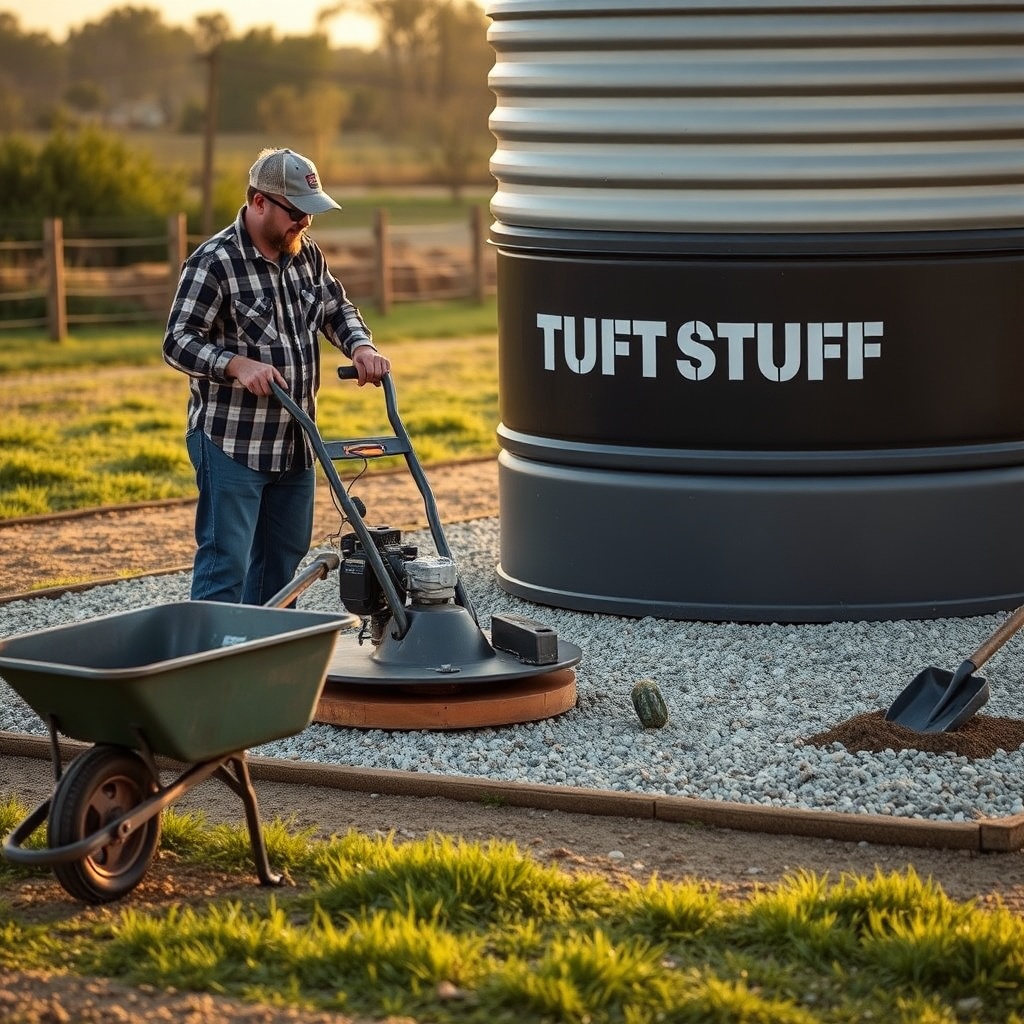
For most installations, a 4–6 inch deep layer of 3/4-inch crushed stone compacted with a hand tamper or plate compactor creates a stable platform. The base should extend at least 12 inches beyond the tank footprint on all sides to prevent erosion. If you are working with clay soil, consider adding a geotextile fabric underneath to separate the base from the subsoil.
Refer to our Tuff Stuff 200-Gallon Stock Tank Installation: Complete Setup Guide for detailed step-by-step instructions on preparing the site.
How Do You Check the Level Accurately?
Use a 4-foot or longer spirit level placed across the tank rim in multiple orientations: front-to-back, side-to-side, and diagonally. Mark high spots with landscape paint and low spots with a flag. For larger areas, a water level or laser level provides greater precision over distances.
Check the level after compacting the base and again after placing the tank (empty). If the tank rocks, add or remove base material under the offending side. Never use shims under the tank legs—this concentrates stress and can cause the tank to crack or distort over time.
A good rule of thumb is that the tank should not deviate more than 1/8 inch per 4 feet of span. For a 200-gallon tank with a 7-foot diameter, this means a maximum tilt of about 1/4 inch across the entire footprint.
What Tools Do You Need for Ground Leveling?
Having the right tools simplifies the job and ensures accuracy. Here is a list of recommended equipment:
- Long spirit level (4–6 feet) or laser level
- Shovel, rake, and wheelbarrow for moving materials
- Hand tamper or plate compactor (rent if needed)
- Landscape fabric (optional but recommended)
- Measuring tape and string lines
- Crushed stone or gravel (3/4-inch)
- Water level (DIY: garden hose with clear ends)
- Gloves and safety glasses
For a typical installation, plan on spending 2–4 hours for ground preparation alone. If you are installing multiple tanks, the time per unit decreases as you refine your process.
How Does Soil Type Affect Leveling Approach?
Different soil types require different strategies. Sandy soils drain well but may shift; clay soils hold water but can heave with freeze-thaw cycles. Loam is ideal but rare on many farms.
| Soil Type | Severity Rating | Recommended Action |
|---|---|---|
| Sandy | Medium | Add 6–8 inches of compacted gravel; install drainage trench |
| Clay | High | Remove 12 inches of topsoil; replace with crushed stone; use geotextile fabric |
| Loam | Low | Level with 4 inches of gravel; compact thoroughly |
| Rocky | Medium | Excavate large rocks; fill with angular gravel; compact with plate compactor |
| Frost-prone | High | Install frost-proof base (gravel over drain tile); consider insulation layer |
In northern regions, you should also read our guide on How to Winterize Your Tuff Stuff 200-Gallon Stock Tank to prevent ice damage to the leveled base.
What Are Common Mistakes When Leveling?
Even experienced operators make errors. Here are the most frequent pitfalls and how to avoid them:
- Skipping compaction: Loose base material settles under the tank weight, causing a tilt after filling. Always compact in 2-inch lifts.
- Using uneven fill: Adding fill to low spots without removing high spots creates a lumpy base. Remove the highs first, then bring the lows up to match.
- Neglecting drainage: Water pooling under the tank rusts the bottom and attracts pests. Slope the base slightly (1 inch per 10 feet) away from the tank center.
- Ignoring frost heave: In cold climates, moisture in the soil freezes and lifts the base. Use at least 8 inches of gravel and install a drain tile around the perimeter.
- Forgetting access: Leave a 3-foot gravel apron around the tank for easy cleaning and maintenance.
If you encounter persistent algae issues after installation, check our article on Tuff Stuff 200-Gallon Stock Tank: Effective Algae Prevention Strategies for complementary solutions.
What Owners Say About Leveling Their Tuff Stuff Tanks
Feedback from farmers and ranchers who have installed the Tuff Stuff 200-Gallon Stock Tank consistently praises the value of proper ground preparation. Sarah from Nebraska noted: “I rushed the leveling on my first tank and had to drain it after a month to fix a 3-inch tilt. With the second one, I spent two hours on base prep using crushed limestone, and it has been perfectly level for two years.”
Mike in Texas shared: “The tank itself is solid, but I wish I’d used a laser level instead of a short level. I missed a 1/4-inch low spot that caused the float valve to shut off unevenly. After re-leveling, everything works smoothly.”
Another owner, Jessica from Oregon, emphasized drainage: “I added gravel and a slight slope away from the tank. Even during heavy rains, the base stays dry, and the tank bottom looks like new after three seasons.”
Frequently Asked Questions
How much does it cost to level the ground for a Tuff Stuff 200-Gallon tank?
For a DIY installation, expect to spend $40–$80 for gravel and $30–$50 if renting a plate compactor. Including tools, total costs range from $70 to $150 USD. Professional installation adds $150–$300 depending on site conditions.
Can I use concrete instead of gravel for the base?
Yes, a concrete pad is the most stable option, but it costs more ($300–$500 for 4×4 feet) and requires curing time before tank placement. Concrete also makes future repositioning difficult. Gravel is preferred for most farm applications.
How do I fix a tilt after the tank is filled?
Drain the tank completely. Lift the low side using a car jack or pry bar (with wooden blocks to protect the tank rim). Add or remove base material under the tank until level. Refill and recheck. Never force the tank with shims.
Should I level the ground or the tank pad?
Always level the ground first, then place the pad or base material. Leveling the pad alone on uneven ground leads to settling. A properly prepared subgrade prevents most issues.
What thickness of gravel is recommended?
A minimum of 4 inches of compacted 3/4-inch crushed stone, but 6 inches is better for frost-prone or soft soils. Deeper layers require compaction in 2-inch lifts for stability.
Do I need to level the tank again after winter?
Check the level each spring after the ground thaws. Frost heave can shift the base slightly, requiring minor adjustment. If the tank has been properly winterized per our How to Winterize Your Tuff Stuff 200-Gallon Stock Tank guide, re-leveling is rarely needed.