Why Does the Siphon Drain on a Tuff Stuff 200-Gallon Stock Tank Require Regular Maintenance?
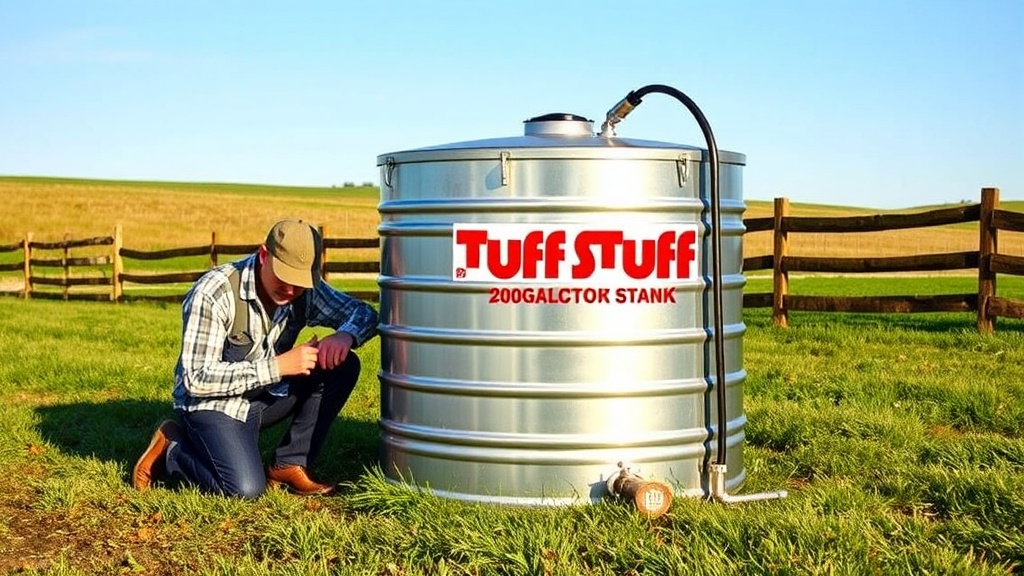
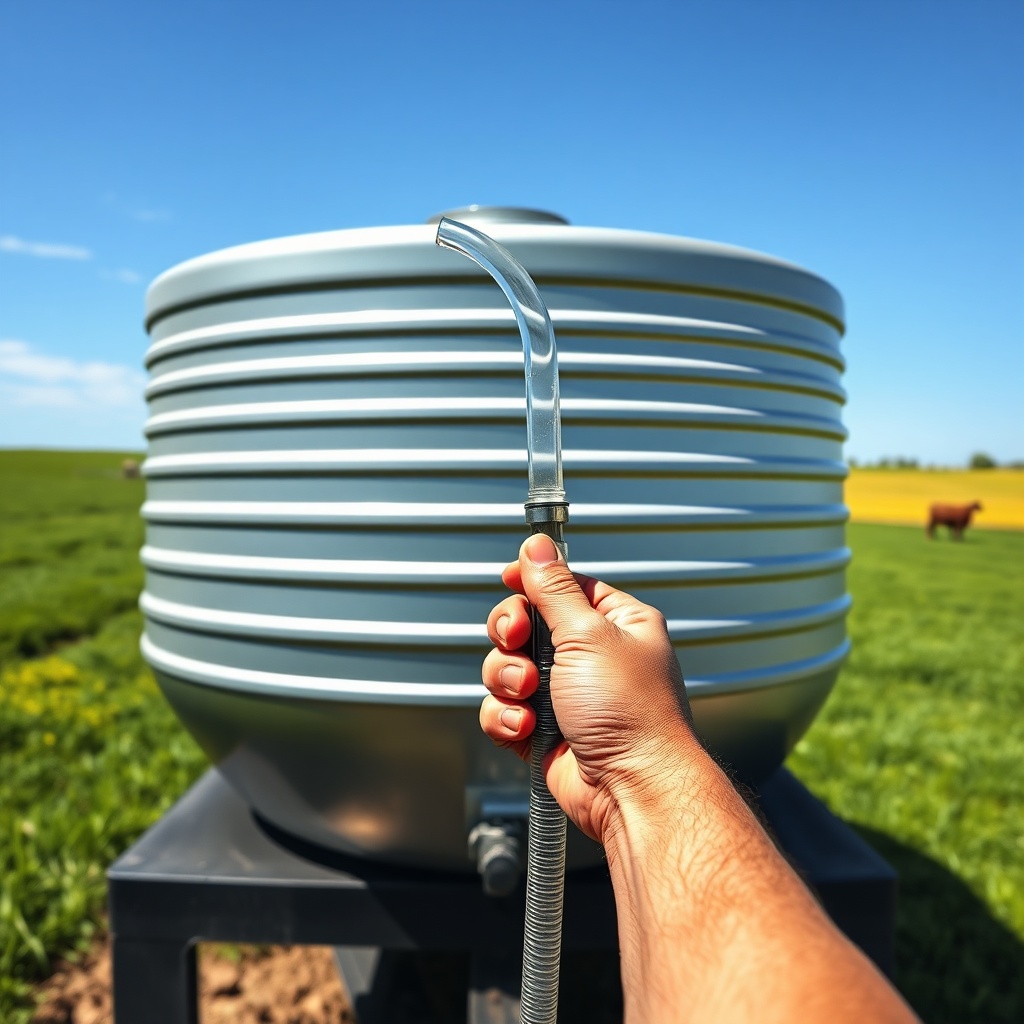
The Tuff Stuff 200-gallon stock tank is a rugged, heavy-duty galvanized steel unit designed to withstand the elements and heavy livestock use. However, its siphon drain system—a simple but effective gravity-driven mechanism—can become a source of frustration if not maintained properly. Over time, sediment, algae, mineral deposits, and even small debris can clog the siphon tube or the drain valve, leading to slow drainage, incomplete emptying, or even complete failure. Regular cleaning and maintenance of the siphon drain ensure the tank empties cleanly when needed, prevents water stagnation, and extends the life of the entire tank.
How Often Should the Siphon Drain Be Cleaned?
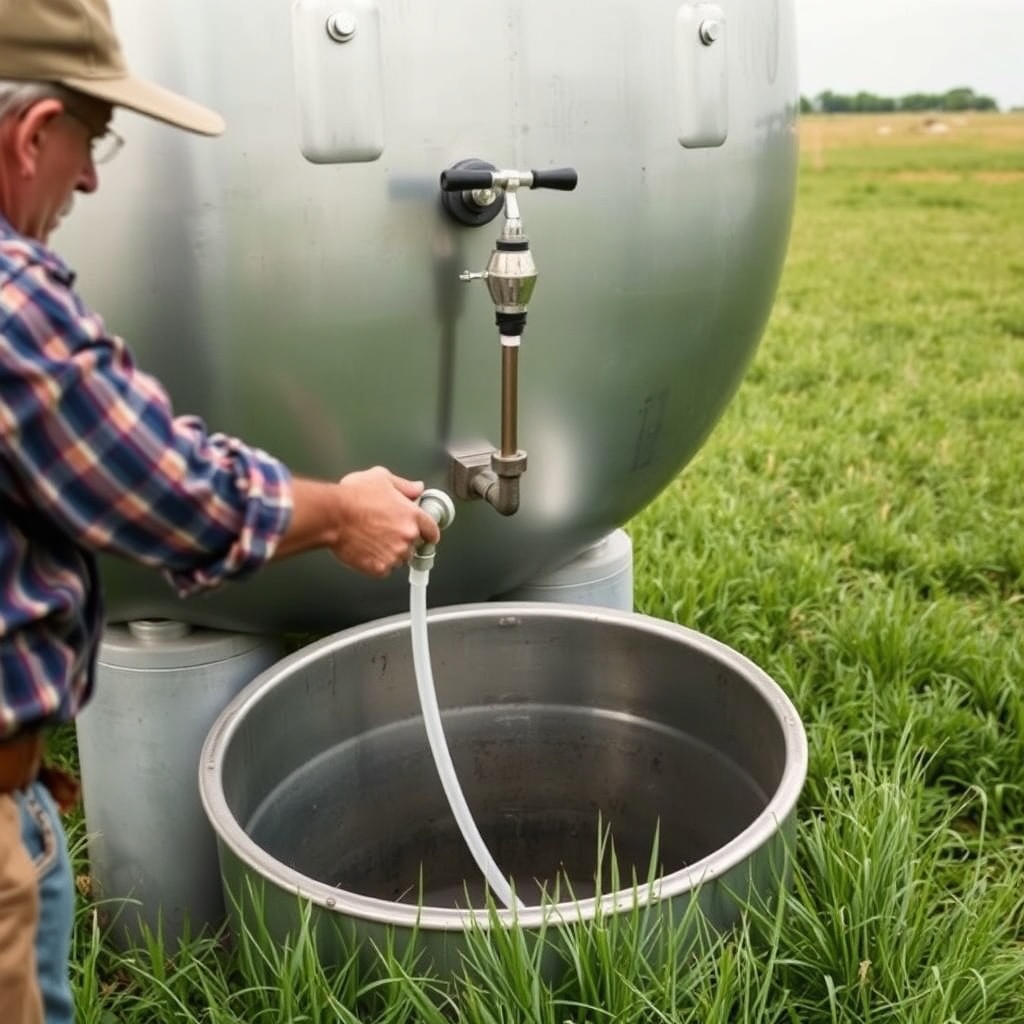
The frequency of siphon drain maintenance depends on water quality and usage. Hard water with high mineral content or tanks in dusty environments will require more frequent attention. As a general rule, inspect the drain mechanism monthly and perform a full cleaning every three to six months. In regions with heavy rainfall or muddy conditions, quarterly cleaning is recommended. For tanks using automatic float valves, the siphon drain should be checked after each major storm event, as debris can enter the tank via the overflow.
The table below outlines a recommended maintenance schedule based on common scenarios.
| Scenario | Inspection Interval | Full Cleaning Interval | Key Signs of Clogging |
|---|---|---|---|
| Hard water (high calcium/magnesium) | Monthly | Every 2–3 months | White scale deposits, slow drain flow |
| Soft water, clean environment | Every 2 months | Every 6 months | Minimal debris, clear drain flow |
| Dusty or high-sediment area | Weekly visual check | Every 2–3 months | Muddy water, clogged valve seat |
| Algae-prone tank (sunlight exposure) | Monthly | Quarterly | Green slime on drain valve, foul odor |
| Winter use with heater | Before freeze and after thaw | Annual deep clean | Ice damage to gasket, cracked valve |
Owners should also note that the siphon drain system on the Tuff Stuff 200-gallon tank uses a simple threaded valve and a flexible or rigid tube. A visual check takes less than a minute and can save hours of troubleshooting later.
What Tools and Supplies Are Needed for Siphon Drain Cleaning?
Before starting, gather the following items to ensure a smooth maintenance session. You will need a standard bucket or large container to catch residual water, a stiff-bristled brush (a nylon brush works well), a pipe cleaner or long flexible wire, a pair of pliers (adjustable or channel-lock), a small flathead screwdriver, white vinegar or a commercial descaler for mineral deposits, a garden hose with a spray nozzle, and a replacement gasket or O-ring for the drain valve (available at farm supply stores for around £6–£10 as of 2025).
For stubborn clogs, a wet/dry vacuum can be helpful to clear the tube. Alternatively, a high-pressure nozzle on the garden hose can dislodge debris. Always wear rubber gloves, especially if the tank has had livestock medication or algae treatments. If the tank has been treated with bacterial treatments, avoid using harsh chemical cleaners that could disrupt the biological balance; instead, use a mild vinegar solution and rinse thoroughly.
Step-by-Step Guide to Cleaning the Siphon Drain
Follow these steps to maintain the siphon drain on a Tuff Stuff 200-gallon stock tank. This process takes about 30 minutes and requires no special skills.
- Step 1: Drain the tank partially. Open the main drain valve (usually a ball valve or gate valve) to lower the water level below the siphon drain outlet. If the tank is full, use a bucket to remove water until the siphon tube is exposed. For tanks with a frozen or stuck valve, refer to the freeze protection guide first.
- Step 2: Disconnect the siphon tube. Locate the threaded connection where the siphon tube attaches to the drain valve. Use pliers to loosen the nut, being careful not to overtighten. If the nut is corroded, apply penetrating oil 10 minutes prior. Slide the tube off and set aside.
- Step 3: Clean the drain valve. With the valve open, use a brush to scrub the internal seat and threads. Flush with fresh water from the garden hose. For mineral scale, soak the valve in white vinegar for 15 minutes, then scrub again. If the valve has a rubber gasket, inspect for cracks or flattening—replace if needed.
- Step 4: Clear the siphon tube. Insert a pipe cleaner or flexible wire into the tube to break up any debris. Then run a high-pressure stream of water through the tube from both ends. For stubborn blockages, use a wet/dry vacuum to pull material out. Dry the tube thoroughly before reattaching to prevent mold growth.
- Step 5: Reassemble and test. Reattach the siphon tube, tighten the nut by hand, then use pliers for a final quarter-turn. Fill the tank with water to the overflow level and observe the drain function. Open the valve fully—the siphon should start immediately and drain at a steady rate. If drainage is slow, repeat step 4 or check for air leaks at the connections.
- Step 6: Final flush. Run clean water through the system for 1 minute to clear any residual cleaning solution. This is especially important if you used a descaling chemical that could harm livestock.
Remember to check the drain valve handle for smooth operation. Over time, sand and grit can wear the valve seat, causing leaks. If you notice a constant drip even when the valve is closed, replace the valve assembly. For additional information on maintaining water quality, see our guide on natural algae control methods.
How to Identify Common Siphon Drain Problems
Even with regular maintenance, issues can arise. The table below covers the most frequent problems, their causes, and solutions.
| Problem | Possible Cause | Solution |
|---|---|---|
| Drain does not start siphoning | Air lock in tube; tube not submerged; valve partially closed | Prime the tube by filling it with water before opening valve; ensure tube end is below water surface; fully open valve |
| Slow drainage | Partial clog from debris or scale buildup | Disassemble and clean tube and valve; use vinegar for scale |
| Continuous dripping after drain | Worn gasket or O-ring; debris stuck on valve seat | Replace gasket; inspect seat for scratches; clean thoroughly |
| Water leaks from tube connection | Loose nut; cracked tube; deteriorated seal | Tighten nut; replace tube if cracked; apply plumber’s tape |
| Valve handle is stiff or stuck | Corrosion or mineral deposits on valve stem | Apply penetrating oil; work handle back and forth; replace valve if damaged |
If the drain valve is completely seized and cannot be turned, apply heat from a heat gun carefully (avoid nearby plastic components) or use a valve wrench. In extreme cases, the valve may need to be cut out and replaced. This is a more involved repair that might require a plumber, but the Tuff Stuff 200-gallon’s modular design makes valve replacement straightforward.
What Owners Say
Livestock owners across the UK have shared their experiences with the Tuff Stuff 200-gallon stock tank siphon drain on farming forums and social media. Many praise the simplicity of the system but caution that neglect leads to frustrating downtime. Sarah, a horse owner in Devon, noted: “I cleaned the siphon every six months and never had an issue until I skipped a winter. Then the valve seized from ice. Now I do it before first frost and after thaw.” Another owner in Yorkshire reported that using a solar-powered heater reduced ice-related problems, but still recommended checking the drain monthly.
Several owners emphasised that the galvanized steel construction resists rust, but the rubber gaskets are the weak point. “I replaced the O-ring with a silicone version for better longevity,” said Mark, a cattle farmer in Scotland. “Cost about £4 and took five minutes.” Others mentioned that the drain tube should be stored inside during winter to prevent cracking. One owner from Kent shared a tip: “I use a piece of wire mesh over the drain inlet to keep leaves out. Works like a charm.” Overall, the consensus is that the Tuff Stuff 200-gallon is a solid investment when paired with regular siphon drain care.
Frequently Asked Questions
1. Can I use a chemical drain cleaner in the siphon tube?
No. Chemical drain cleaners are harsh and can damage the rubber gasket and galvanised coating. They may also leave residues harmful to livestock. Stick to mechanical cleaning with a brush or wire, and use white vinegar for mineral deposits.
2. How do I know if the siphon tube is the correct size?
The Tuff Stuff 200-gallon tank comes with a standard 1-inch diameter siphon tube. Replacement tubes should match this diameter. Using a larger tube may cause air gaps, while a smaller tube reduces drainage speed. Measure the existing tube before ordering a replacement.
3. Do I need to disconnect the tank from the water supply before cleaning?
Yes. If your tank uses an automatic float valve or a solar-powered heater, shut off the main water supply and disconnect power to avoid accidental activation during maintenance. For float valves, close the inline shutoff valve first.
4. What should I do if the siphon tube freezes in winter?
Do not attempt to force ice out of the tube as it can crack the metal. Instead, apply a gentle heat source like a hairdryer or warm (not boiling) water around the tube. For prevention, see the freeze protection guide that covers both solar and electric heaters.
5. Is it necessary to replace the gasket every cleaning?
No. Inspect the gasket for tears, flattening, or stiffness. Replace only if damaged. With normal use, a silicone gasket lasts 2–3 years. Rubber gaskets may need replacement every 1–2 years depending on water temperature and chemical exposure.
6. Why does my siphon drain not work after a power outage (if using a pump)?
The Tuff Stuff 200-gallon’s siphon is gravity-fed, so a power outage should not affect it. If you use an auxiliary pump, check that the pump is reset and that the siphon tube is still submerged. For purely gravity systems, ensure there is no air in the tube by priming it manually.