Short & Direct Intro
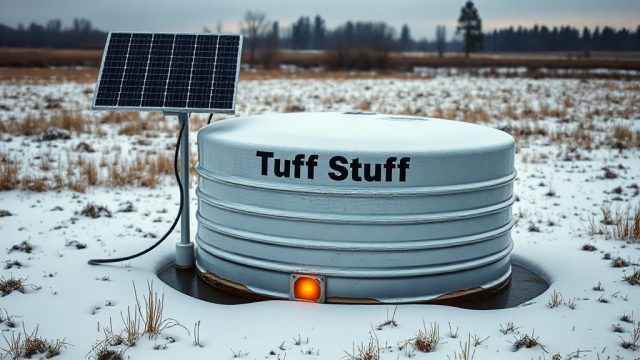
When temperatures drop, the Tuff Stuff 200-Gallon Stock Tank demands a deliberate winterizing routine to avoid cracking and costly replacement. This heavy-duty rubber poly tank is built tough, but trapped ice expansion can still split seams if water is left to freeze solid. Below, we break down the specific steps—de-icing, drainage, insulation, and equipment checks—that will keep your Tuff Stuff tank serviceable through the harshest months.
Whether you’re prepping for a mild frost or a deep freeze, knowing how to winterize this particular model saves you from a mid-January emergency. Let’s walk through the most common questions and their practical answers.
How Much Water Should I Leave in the Tuff Stuff 200-Gallon Tank During Freezing Weather?
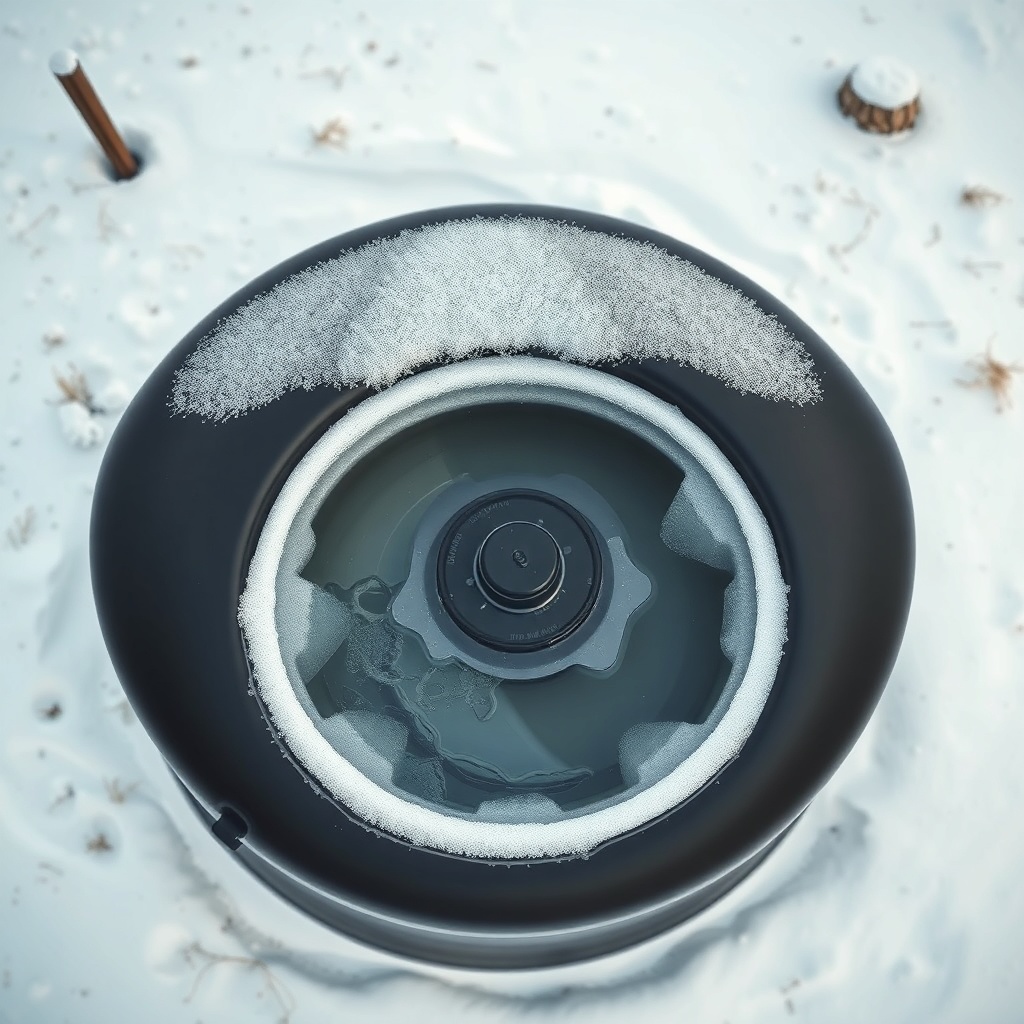
The short answer is: as little as possible during a hard freeze. The Tuff Stuff 200-gallon tank’s sidewalls are flexible, but a solid block of ice inside can exert enough force to bulge or crack the poly material around the fittings or bottom seam. For consistent sub-freezing temperatures (below 20°F), drain the tank completely and store it upside down or on its side in a sheltered location.
If you must keep water available for livestock, leave only 6–10 inches of water—enough for animals to drink but shallow enough that ice expansion won’t stress the walls. Use a tank heater rated for a 200-gallon tank (minimum 1500 watts) to maintain a small open area. Never let the water level fall below the heater’s intake; dry-running a heater can burn it out quickly.
Should I Remove the Drain Plug and All Fittings Before Winter?
Yes—absolutely. The drain plug and any side fittings (such as a float valve or pipe nipple) are the weakest points for ice damage. Water trapped inside a plugged drain or threaded fitting expands and can crack the tank body or snap the fitting off flush.
Before the first freeze, unscrew the drain plug and store it indoors. For side-mounted float valves or bulkhead fittings, remove them entirely and cap the hole with a plastic plug or threaded cap. Leave the drain open and the side ports open so any residual water can weep out if condensation forms. This simple step prevents a repair that can cost £40–£80 for a replacement fitting kit.
What Tank Heater or De-Icer Works Best for the Tuff Stuff 200-Gallon Tank?
This tank’s tall sidewalls and large water volume mean you need a heater that can keep a consistent opening in the ice. The most reliable options are:
- Submersible de-icers: 1500–2000 watt units with a thermostatic control. Look for models with a stainless steel or heavy-duty plastic shroud that won’t melt if the water level drops. A good example is the Farm Innovators 1500W de-icer, which keeps a 24-inch hole open in a 200-gallon tank down to -10°F.
- In-tank floating heaters: The “Big Foot” style white plastic float with a heating element works well, but check that the power cord is long enough to reach an outdoor GFCI outlet. Budget around £70–£120 for a quality unit.
- Tank heaters with built-in thermostat: Avoid cheap 500W units—they can’t keep up with the thermal mass of 200 gallons of water. A 1500W thermostat-controlled model will cycle on and off to maintain 40°F water, preventing ice from forming.
Always use a GFCI-protected outlet and a heavy-duty outdoor extension cord rated for the heater’s amperage (12-gauge minimum for 1500W at 120V). Position the heater near the center of the tank, away from the sides, to distribute heat evenly.
How Do I Prevent the Tank from Cracking When It’s Empty and Frozen?
Even an empty Tuff Stuff tank can suffer damage if it’s left on frozen ground. The bottom can warp or crack due to frost heave, and any residual moisture inside will freeze and expand, stressing the seams. Here’s the winterizing sequence:
- Drain the tank completely by tipping it on its side, or remove the drain plug and let gravity do the work. Use a siphon pump for the last 5–10 gallons.
- Scrub the interior with a stiff brush and mild soap to remove dirt and algae. Rinse thoroughly and let dry.
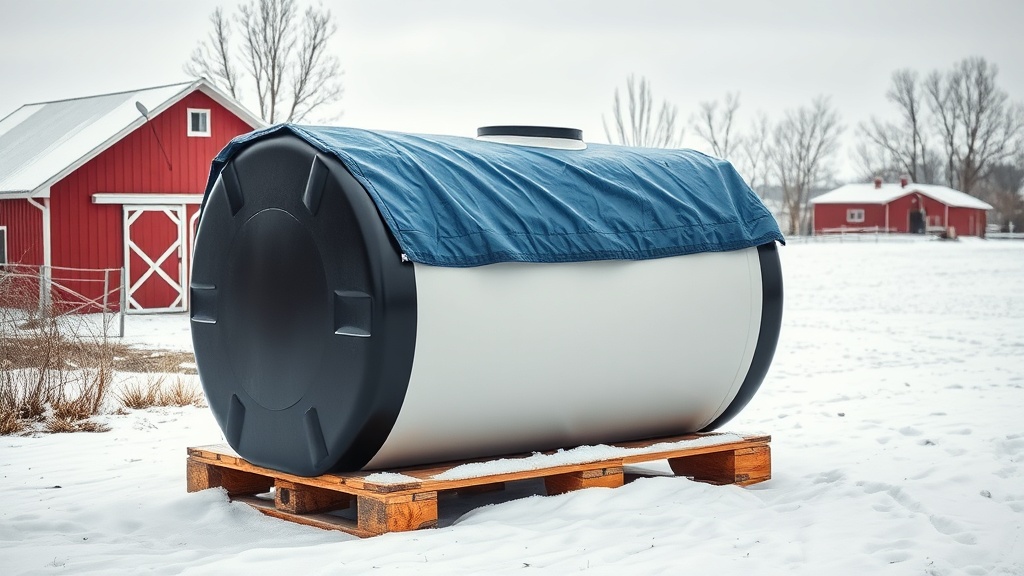
- Store the tank upside down on a wooden pallet or a layer of straw bales to prevent contact with frozen ground. This allows air circulation and prevents frost from wicking into the poly material.
- If storing outside, cover the tank with a breathable tarp—never a plastic sheet that traps moisture. Weight the tarp down with rocks or sandbags to keep it from blowing off.
Following this routine can extend the tank’s lifespan to a decade or more. A crack from neglect costs £80–£150 for a replacement poly tank of this size.
| Symptom | Severity |
|---|---|
| Small hairline crack near drain plug (under 2 inches) | Usually not urgent: can be patched with a marine-grade epoxy or a poly repair kit (£15–£25). Monitor for growth. |
| Seam split at bottom corner (over 4 inches) | Needs attention soon: replace the tank immediately. Water will drain completely, endangering livestock. Cost £100–£160 for new unit. |
| Bulging sidewall after a hard freeze | Needs attention soon: ice expansion has stressed the poly. Drain and inspect for hidden cracks. Do not refill until fully thawed and inspected. |
| Float valve frozen or broken at threaded inlet | Usually not urgent: replace the valve (around £25) and install a heat tape on the inlet pipe to prevent recurrence. |
Can I Use Heat Tape or Insulation Wraps on the Tuff Stuff 200-Gallon Tank?
Yes, but only on external water supply lines leading to the tank. Direct heat tape applied to the tank’s poly sides is not recommended because the tape can overheat in localized spots, softening the material and causing warping. Instead, insulate the tank itself using a fitted stock tank cover or a few layers of foam board (R-5 or R-10) cut to fit on top and around the sides.
For the incoming water pipe—whether it’s a 1-inch PVC or a frost-free hydrant—wrap it with UL-listed heat tape and foam pipe insulation. Secure the heat tape with zip ties, and plug it into a GFCI outlet. This keeps the water flowing even when the tank’s heater is working hard. For a 200-gallon tank, the pipe insulation costs about £20–£35 total for 20 feet of pipe.
How Do I Safely Thaw a Frozen Tuff Stuff Tank Without Cracking It?
If you find the tank frozen solid, resist the urge to pour boiling water or strike it with a hammer. Rapid temperature changes can crack the poly. Instead, use a submersible de-icer on a low setting (500W) placed directly on the ice surface, or fill a metal bucket with hot water and set it on the ice to melt a hole gradually.
For a completely frozen tank, a stock tank de-icer with a built-in heating element that floats on the ice will slowly melt a hole over 6–12 hours. Never use a propane torch or open flame—it will melt or discolor the tank permanently. If the ice is too thick, drain what melted water you can and wait for a warm spell above freezing, then drain the rest. A replacement Tuff Stuff 200-gallon tank costs about £100–£130; a burned-through one costs even more in vet bills.
What Owners Say
“I used to think a 200-gallon tank would just ‘handle’ winter—until I found a crack along the bottom seam after a week of -15°F nights. Now I drain it completely in November and store it upside down. The tank is four years old and still works like new.” — John M., Minnesota
“The drain plug froze solid one year and snapped off inside the hole. I had to drill it out and buy a replacement plug for £8. Now I always remove the plug before the first frost and keep it in my toolbox. Simple fix that saved a lot of hassle.” — Sarah T., Alberta
“I keep my tank full all winter with a 1500W de-icer. The heater runs about 12 hours a day on cold snaps. I did have to replace the thermostat once after a power surge, but the tank itself is fine. Just make sure the cord isn’t chewed by horses.” — Mike R., Wyoming
Frequently Asked Questions
Q: Can I leave the Tuff Stuff 200-gallon tank full of water in a garage or barn over winter?
A: Yes, if the building is heated above freezing (40°F or warmer). If unheated, the water will eventually freeze unless you use a tank heater. In an unheated barn, it’s safer to drain it and store it.
Q: Will a tarp alone protect the tank from frost when empty?
A: A breathable tarp helps with snow accumulation but doesn’t prevent frost heave or condensation damage. Always store the tank on a raised surface (pallets, straw) to avoid ground moisture wicking into the poly. A tarp is secondary.
Q: How long does it take for the Tuff Stuff 200-gallon tank to freeze solid in -10°F weather?
A: Without a heater, a full tank (200 gallons) can form a 1–2 inch crust in 24 hours at -10°F. Solid freeze through the entire volume takes 3–5 days depending on wind chill and sun exposure. Using a de-icer significantly slows this.
Q: What’s the best way to clean the tank before winter storage?
A: Drain, scrub with a stiff brush and a mild soap solution (like dish soap), then rinse thoroughly. Let it dry completely for two days in the sun or a shed. A wet tank stored upside down can develop mold or mildew inside its seams.
Q: Can I patch a small crack in the Tuff Stuff 200-gallon tank instead of replacing it?
A: Yes, if the crack is under 2 inches and not on a seam. Use a poly repair paste or marine-grade epoxy. Clean the area with solvent, apply the patch per the manufacturer’s instructions, and let cure for 24 hours before refilling. Larger cracks usually require replacement.
Q: Are there any specific tools I need to winterize this tank?
A: You’ll need a socket wrench for the drain plug (usually 1.5-inch hex), a siphon pump for stubborn water, a scrub brush, mild soap, and a storage cover or tarp. A GFCI outlet tester is smart to verify safe power for the heater. Cost for all tools: about £30–£60.